No Knead breads are easy to make. Just a few ingredients, a bowl and may be a good spatula are all that you need. Now if you are ok with sticky fingers, then don’t even worry about the spatula! Usually no knead breads take long hours, even days, from start to finish, as the recipes rely on delayed fermentation for gluten development. This dinner roll, on the other hand, comes together in pretty much the same time as a regular diner roll, with much less effort. Don’t believe me ? Watch the video in the recipe.
 I like to knead. To me the rhythm of kneading is almost therapeutic. The way the dough changes as it develops gluten has always fascinated me. You will find me poking and stretching the dough even when I am using my mixer. But every now and then I make this no knead d bread. The recipe is so simple that I can just hand over the ingredients to my kids – and leave the rest up to them.
As I mentioned earlier usually the no-knead dough is designed for long slow fermentation. The amount of yeast will be much lower than the standard bread recipes call for. The dough will be wet, more moist than usual and the breads are usually more crusty with an open crumb.
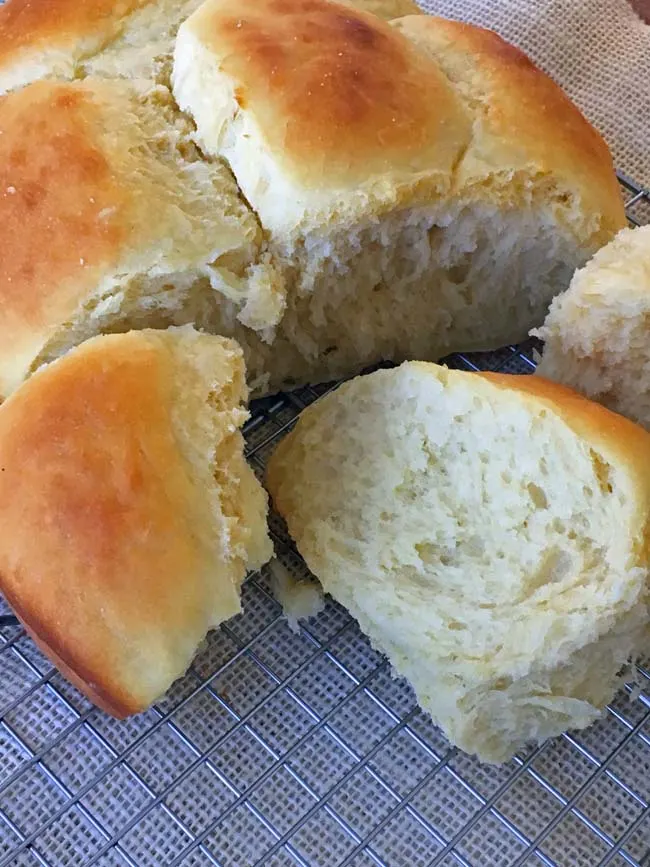
This bread on the other hand takes only 2 hours from start to finish. Of course, you can slow down the process and and give it a long rise in the fridge. The slow rise will enhance the flavors. Depending on your time window mix and leave the dough at room temperature to rise for 10 to 20 minutes and refrigerate for 4 hours or mix and leave in the fridge for overnight rise for up to 12 hours. All you have to ensure is that the dough has doubled. A little over proofing during the first rise is not going to cause any harm, but do not over proof before the second rising.
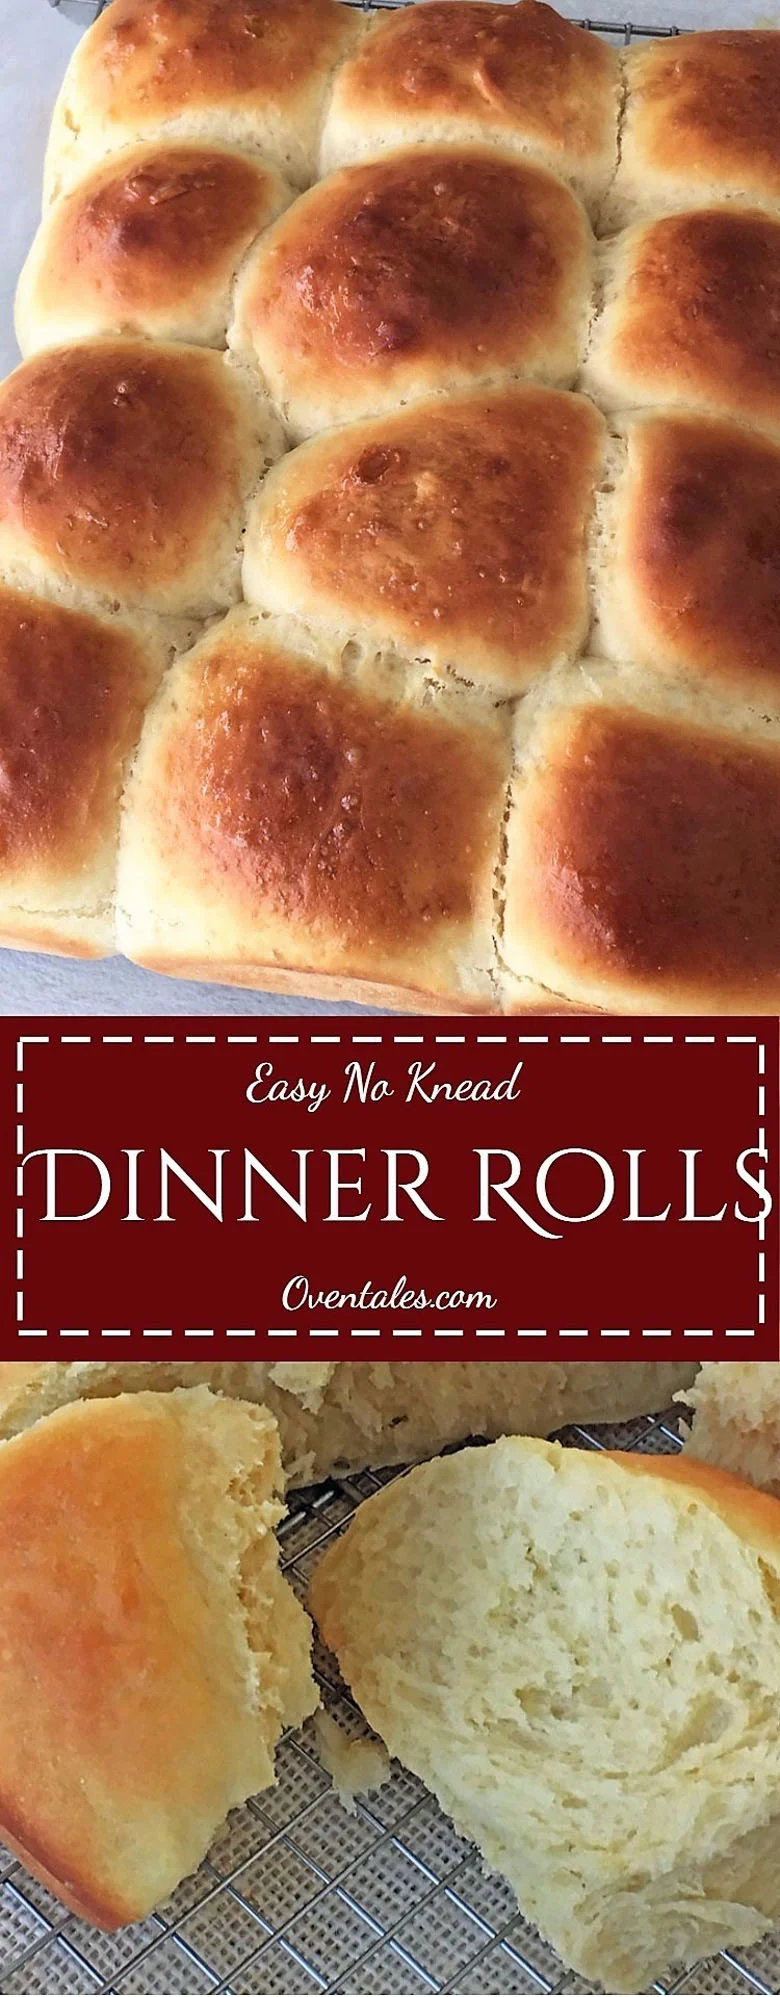
The rolls are soft and with nice close crumb. The same dough can be used to make sweet breads. Increase the butter and sugar by couple tablespoons, and add your fillings to make cinnamon rolls, or monkey bread.
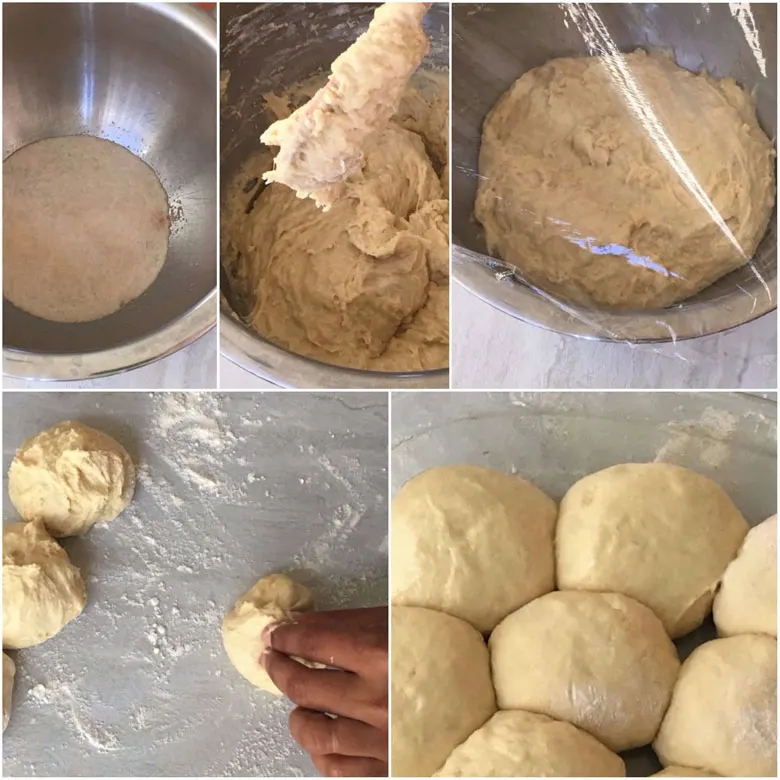
Often the recipes for the no knead dough has you adding all ingredients into the bowl and mixing. But here I like to activate my yeast first, call it force of habit. I find that the 5 minute head start for the yeast saves about 20 to 30 minutes in rising time. Activate the yeast and add the melted butter and eggs to it beat well and add flour and most of the remaining water and mix well. Add the flour and stir until all the no dry flour remains. If needed add more of the remaining water. The dough is wet but not too wet or runny. When mixing try to get the spatula on all sides of the dough. This helps to break up large lumps of dough. Do not worry about mini/micro lumps, the rising action will break these down.
Scrape the sides of the pan and bring all the dough into one large pile. Cover and let rest for 1 hour. Keep the dough in a warm place – close to the stove or in an warming drawer. Another way to accomplish this is to turn the oven on, set at 350° F for and let it preheat for a minute. Turn it off and place the dough in the warm oven to rise.
The way a wet pile of dough rises is a title different from that of a standard ball of bread dough. There is no surface tension to hold its shape, so the dough expands in all possible directions given the proofed dough more of a bubbly, cracked surface than that of a blown up balloon. The video is a good reference.
Once the rough is risen, punch it down and shape the rolls. Use flour liberally while shaping. The dough will not absorb too much flour, but flouring the working surface will prevent the dough from sticking, making the clean up easy. Though the rolls can be just scooped into the pan, a nice tight surface makes them rise evenly while baking.
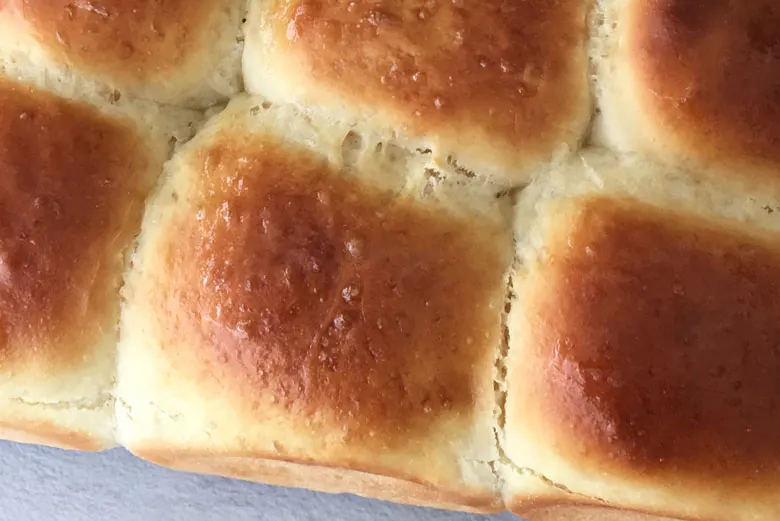
You can use any ovenproof pan for baking, arrange the rolls in the pan and let rise for another 20 to 30 minutes till almost doubled. To prevent the buns from sticking to the pans lightly oil them or line with parchment paper before placing the rolls. Brush the tops of the rolls with egg wash and bake in the preheated oven for 20 to 30 minutes, until the tops have browned nicely.
Remove from the oven and brush the top with butter. Cool slightly before serving.
No Knead Dinner Rolls
Ingredients
- 500 g All Purpose Flour/Bread Flour 4 C + extra for dusting
- 240 g Water 1 C
- 7 g Yeast 2 1/4 Tsp (1 Pkt)
- 2 Tbsp Sugar
- 2 Eggs
- 1 Tsp Salt
- 2 Tbsp Butter Extra for brushing on top
Egg Wash
- 1 Egg
- 2 Tsp Milk/Water
Instructions
- Warm water to 110°F or slightly warm to touch. Mix 1/2 C water with 1 tsp sugar and sprinkle the yeast on top. Wait for 5 to 10 minutes till the yeast activates and the mixture is frothy.
- To this mix add the eggs and mix well. Followed by melted butter. Mix and add the flour.
- Stir a few times and add almost all of the remaining water. Mix with a spatula for about a minute until all the dry flour is incorporated and the mix comes together. There should not be any large lumps. If needed use the remaining water. If the dough seems too wet sprinkle a few tablespoons more flour and stir in. The dough should be a little wet but not runny. Scrape the sides and form everything into a large heap . Cover the bowl with a plastic wrap and set aside for 1 hour in a warm place.
- Punch down the dough . Oil or dust you hands with flour to prevent the dough from sticking.
- Place the dough on a well floured work surface. Divide into 12 portions and shape each portion into a ball (see video). Line a baking tin with parchment paper or lightly oil the tin . Arrange the rolls in the tin leaving a little gap between each. Cover and let it rise in a warm place for about 30 minutes.
- Preheat the oven to 375°F (190°C).
- Break an egg into a small bowl. Add 2 tsp of milk/water to it and beat well. Brush the tops of the rolls with this egg wash.
- Transfer the rolls to the preheated oven, and reduce t he temperature to 350°F(175°C). Bake for 20 to 25 minutes, until the rolls are browned on top and the internal temperature reaches 200°F. (94°C) . Remove from the oven and brush the tops with melted butter . Cool slightly before tearing off and serving.
- Use the same day or individually wrap the rolls and freeze in an airtight container.
Video
Notes
Nutrition
Important: Nutrition Values are estimates. Actuals vary based on ingredients and serving size.
Here are some other bread recipes
- Rustic Cranberry Walnut Bread – No Knead
- Mediterranean Olive Bread
- Spotted Dog
- Sun dried Tomato Loaf
Tips and Tricks :
- Butter should be melted and mixed well with the beaten eggs.
- The dough will be wet , make sure that all the flour is incorporated and no large dry pockets of flour remains.
- For fresh dinner rolls in the evening. Mix and leave in the fridge in the morning. When you are ready to prepare dinner , take it out and shape. set aside to double , and bake.
- If planning ahead for a day or 2 in advance, reduce the yeast to 1/2 tsp and leave in dough the fridge for first rise (bulk proof).

Ashley - Forking Up
Wednesday 11th of October 2017
Have you ever tried making these with a sourdough starter? I loooove it so much! It adds a nice depth of flavor while still staying light and buttery.
Syama
Wednesday 11th of October 2017
You are right, sourdough starter would be absolutely lovely! It will take longer fermentation though.
Joan Cajic
Wednesday 27th of September 2017
These looks so great and will save me so much time with the kneading I usually do, need to try this out. Thank you for sharing.
Syama
Thursday 28th of September 2017
Yes, no kneading. This dough is very forgiving, in terms of time as well. Hope you try it.
Maggie
Wednesday 27th of September 2017
You make this look so easy! thanks :) www.the-over-exposed.com
Syama
Thursday 28th of September 2017
You are welcome. Hope you try it :-)
Carrie
Tuesday 26th of September 2017
I will definitely be making these! They look delicious and so easy!
Helene D'Souza
Tuesday 26th of September 2017
Your roles are Pao right? They look perfectly fluffy! I wish I was that good in baking rolls like that :)
Syama
Tuesday 26th of September 2017
Thank you! Yes, these are dinner rolls. I guess you could call them Pav/Pao, but as far as I know pav is made without eggs.