
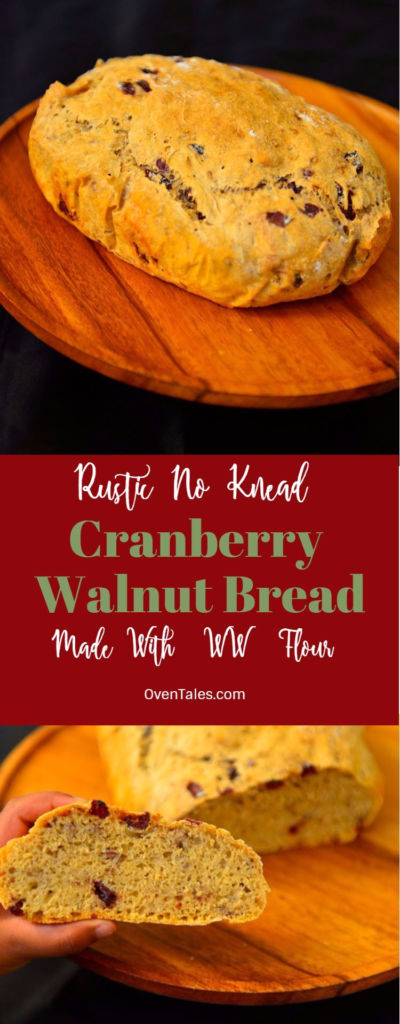
Here is a rustic Cranberry Walnut Loaf. This is an easy bake, what with being no knead and all. It is a flavorful loaf with lots of whole wheat goodness in it. The whole wheat coupled with the dried cranberries and walnuts adds a tinge of purple to the loaf. As no knead loaves go, this is a high hydration bread, and if you are in the mood I would say make the dough even more wet that I did in this recipe. 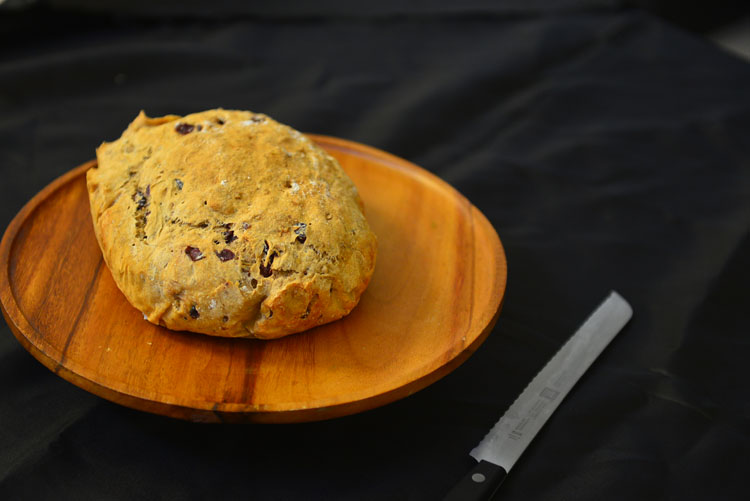

Here we are approaching the end fall.. Plenty of seasonal foods in store. The touch of cool weather is is prefect for for soups and home made breads. Our family’s favorite of this season is cranberries . As for me I prefer the dried variety , though my kids tend to disagree ..
Every year we make this amazing sweet cranberry walnut quick bread. This year, since I was fascinated by the no knead breads , I decided to try a savory version . It tuned out to be a beautiful loaf , perfect to go with roasted pumpkin soup, kale salad or just toasted and topped with a dash of butter.
Usually in no knead recipes the nuts and fruits are added after the first rise. But here everything went in together, and the result was a purple tinged bread with wonderful nutty , tart flavor.

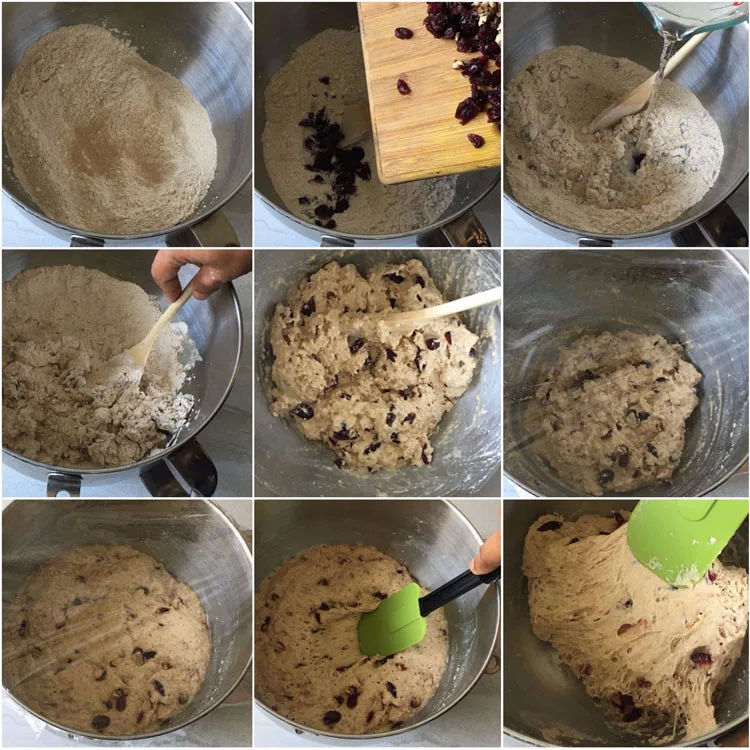 Take a large bowl add yeast, flours and salt in that order. Combine well. I used unbleached bread flour and whole wheat flour here. The cranberries and nuts add so much goodness that even if one made this with only all purpose flour, it will still be a guiltless pleasure. Make a well in the center pour 1 1/2 cups of water and mix with a wooden spoon until you have a slightly sticky dough (about 30 seconds). It is perfectly OK to use your hand to do the mixing, but really all it takes is a spoon. The dough may need a bit more water, so add one tablespoon at a time until all the flour comes together in a slightly sticky mass. Cover and let the dough rise for at least 12 hours (overnight ). The ambient temperature in my kitchen is barely touching 70 degrees now. So it was perfectly safe for me to let it rise on the counter top . If you are on a warmer region , refrigerate the dough for a couple of hours to slow down the yeast activity. Remember this is a recipe where slow fermentation does most of the magic.
Once it is doubled and you see the bubbles as in the picture (last row above), it is time to punch down and the second rise. Use the spoon to deflate the dough. It is not a hard task as the dough is not a stiff one, but a bit soft and droopy. Use a flat spatula to scoop the dough from the sides and bring to the center. In that process you get to see the beautiful gluten stands created by the yeast.
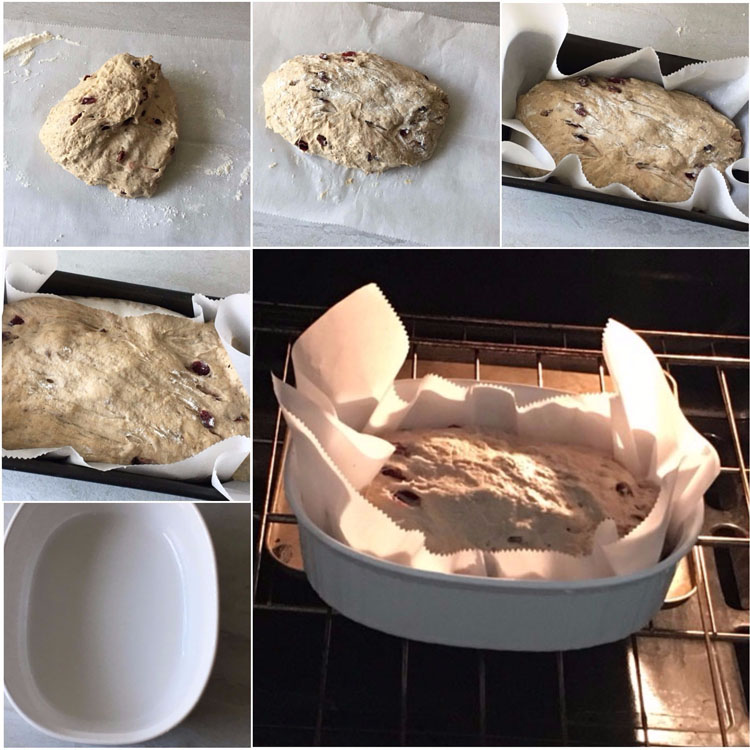
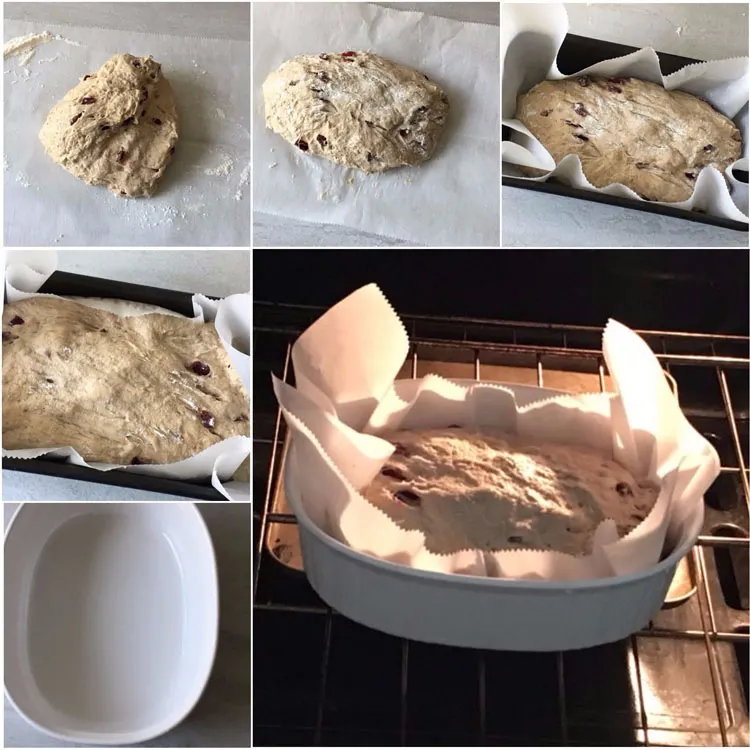 If you feel that it is too wet this is the time to add a few more teaspoons of flour. Shaping a wet dough is a bit tough. The easiest way is to dust a parchment paper with flour and invert the dough on to it. Sprinkle the top of the dough with more flour and lightly shape into a log or boule or the shape you are looking for. Pick up the parchment and transfer the dough into a loaf pan or bowl. Spray the top with a little bit of oil and cover the dough with another bowl and set aside to rise for another 1 to to 2 hours . This method forces the dough to take the shape of the container. So make sure that the container that you choose has roughly the same dimensions as the container you are going to bake the bread in. You can refrigerate the dough at this point or up to 12 hours.
We are looking for the dough to double in size once again. But this being a free form dough it is difficult to gauge by size . Gently poke the dough and if it leaves an impression then it is time. If it springs back, let it rise 15 minutes more and test again. Since I was going for a crusty bread I wanted to try baking in a heated pan. For this place a casserole dish in the lower third of the oven , and preheat at 450°F . Do not open for 5 to 10 minutes after the oven thermometer registers 450. This is done to make sure that the baking dish is hot . Use an ovenproof casserole dish , or a cast iron pa , but do not preheat with regular loaf pan.
When you are ready to bake the bread , open the oven, and with pot holders carefully place the pot on the counter . Remove the bowl covering the dough , pick the dough up by holding the sides of the parchment , and gently slide it into the waiting pan . This transferring technique is something that I haven’t mastered yet , as you can see my dough is not in the perfect shape. Cover the dough with aluminum foil or or the casserole lid . Transfer the dish to the oven and turn down the temperature to 400°F and bake for 25 minutes. Then, remove lid, and bake for an additional 15-20 minutes uncovered, at 350°F, until the crust is a deep golden brown. Remove pot from oven, let rest for 5 minutes and carefully remove it from the pot, and let cool completely before slicing.


Cranberry Walnut No Knead Bread
Ingredients
- 120 g Unbleached bread flour (1 C)
- 240 g Whole Wheat Flour (2 C)
- 7 g Salt ( 1 1/4 Tsp )
- 1 - 2 g Active Dry Yeast ( 1/2 Tsp )
- 3/4 C Dried Cranberries
- 3/4 C Walnuts Coarsely chopped
- 350 g Water (1 1/2 C plus extra)
Instructions
- In a large bowl add yeast, flours and salt in that order. Combine well .
- Make a well in the center pour 1 1/2 cups of water and stir well to combine until you have a sticky dough. Add a few more tablespoons of water 1 tablespoon at a time and stir if the dough seems too dry .
- Cover and let the dough rise for at least 12 hours (overnight ) at a cool place ,if the weather is warm refrigerate the dough for a few hours .
- Once the dough has doubled in size, stir the dough with a spoon to deflate. Mix in a couple of tablespoons of flour if the dough seems very sticky. Transfer the dough to a floured parchment sheet and shape as needed. Place the parchment in a pan of desired shape cover loosely and let rise for 1 - 2 hours, till doubled ,
- Preheat the oven to 450°F (230°C), with a the oven safe pan - dutch oven , cast iron pan or ceramic , not metallic or glass baking tins. Once the oven has reached the desired temperature let it heat for further 5 to 10 minutes to get the pan heated well.
- Open the oven , slide the rack out, and carefully slide the dough into the heated pan. Cover with a lid or aluminium foil. Slide the rack back and close the oven door.Turn the temp down to 400°F(200°C) bake covered for 25 minutes. Remove the cover, Reduce temperature to 350°F (175°C) and bake for another 15 to 20 mins.
- Cool completely before slicing .
Notes
results with both.
Important: Nutrition Values are estimates. Actuals vary based on ingredients and serving size.
Notes
- If you wish to avoid the heated pan approach let the second rise be in a loaf pan and bake as a regular loaf of bread.
- If you are looking to bake on a baking stone or sheet , make the dough little stiffer than shown here. With the high hydration the dough tends to flatten out more than rise up.
- Remember to use good quality yeast , if you find that your dough is not rising at all after a few hours it is time to check the yeast and add another 1/2tsp yeast good quality yeast activated in couple of tablespoons of water and a touch of honey .
Enjoy !!

Originally published on Nov 2015. Updated with pictures .
Here is another easy no knead recipe to try 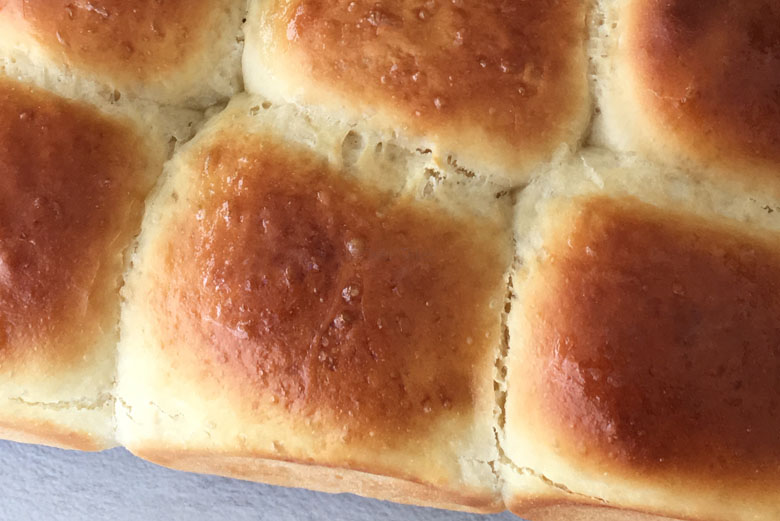
 Easy No Knead Dinner Rolls
You might like

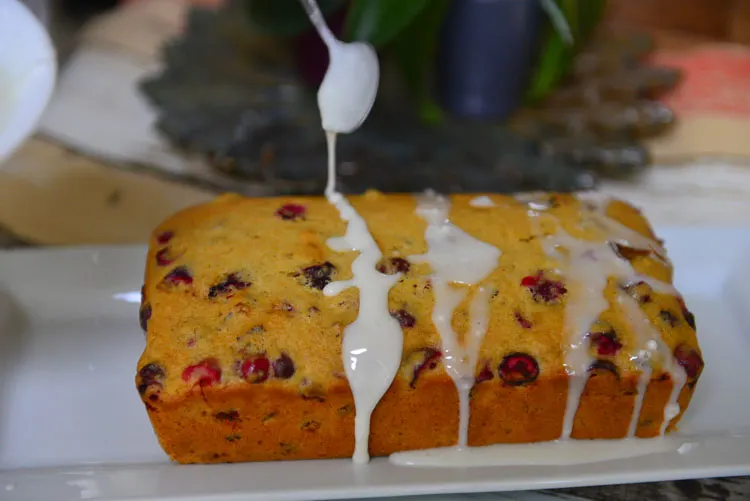
Cranberry Quick Bread
For more bread recipes click here