
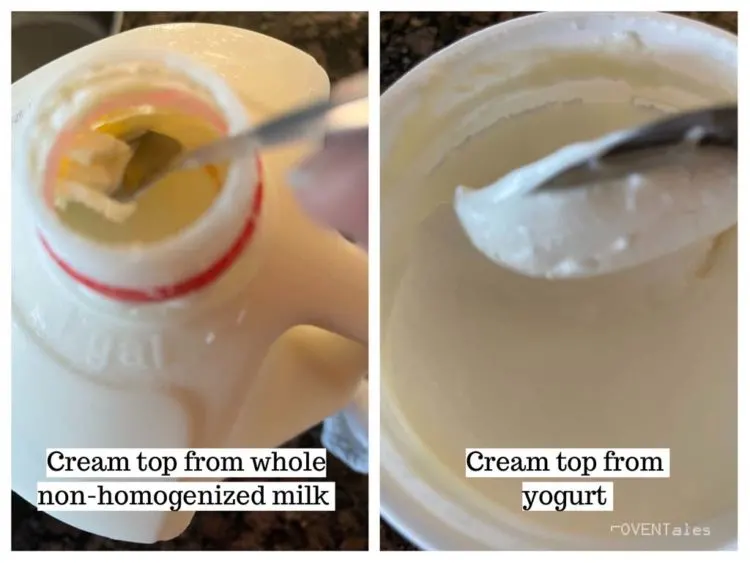
Making butter at home is easier than you would think. You can make it from heavy cream or the cream that settles on top of the non homogenized milk and cream top yogurt. Wherever you get the cream from the process is the same, to separate the fat from the liquid.

The other day at the checkout counter in my local store, I mentioned to the cashier that I make butter from the gallons of rather expensive milk that I had in the cart. She was curious, and here I am.
I, like millions of others around the world, grew up taking homemade butter for granted. In many parts of the world you buy only one dairy – milk. All the other dairy products were homemade. Making butter, yogurt, buttermilk, and clarified butter were all part of preserving excess milk and enjoying it in its various forms.
Components of Milk
Milk contains water, fat, proteins, sugar (lactose), and other minerals. It is essentially an emulsion of fat in water. Fat and water are two components that usually don’t mix but are held together here in a fairly stable form with the help of external binding forces. Garlic aioli or Toum is another emulsion so is mayonnaise.
Each of the components have different densities and when the binding between them becomes weaker they separate into different layers. Milk in its natural form, raw or pasteurized, will develop a layer of cream on top when left standing for some time. This is the result of lighter fat molecules floating to the top.

Butter
Butter and milk are both emulsions. While milk is an emulsion of fat in water butter is an emulsion of water in fat. Ghee or clarified butter is the result of removing the trapper water and other milk solids from butter.
Science of Making Butter
In milk and cream, fat molecules are suspended in water. Lipoproteins cover the fat molecules and prevent them from forming bonds with each other. If shaken vigorously the fat molecules release from the lipoproteins and attach themselves to other fat molecules. When enough of them do it, we begin to see small clumps of butter. Eventually, these join together to make a larger mass of solid butter.
3 Easy Ways to Make Butter at Home
You need 3 components to make butter – whole milk/cream/whole yogurt preferably cold, a container, and a source of force. You can make it in a bottle, using a handheld or stand mixer, or a blender.
Shake the Bottle aka the Elementary Science Project
This is a great activity to do with kids. The good thing about this is that you don’t need any special equipment. Using a glass bottle (mason jar) allows them watch the transformation.
So here is the process – pour the chilled cream into a bottle with a tight-fitting lid and shake. After about 20 minutes of vigorous hand workout you will see butter forming in the bottle.
Couple things to watch out for – when the weather is hot this process will take longer. So add a couple ice cubes into the bottle. There should be enough room in the bottle for the cream to move around and expand. So do not fill it more than half way.
Use an Electric Mixer
Pour the cream into the bowl. Fit the mixer with the whisk attachment and whisk on low, increasing to medium as form begins to develop. You can add more chilled water to the bowl at this point to speed up the process. But this will dilute the resulting buttermilk.
Again make sure that the bowl is only ¼ of the way full. This will give enough room for the cream to expand and avoid spills.
Blender or Food Processor (preferred for thicker creams)
This is the method that I usually use. The reason is my choice of cream. I buy non-homogenized whole milk that usually has a thick layer of cream on top. Due to refrigeration this layer of cream is almost solid, but still with much more water and milk solids than butter.
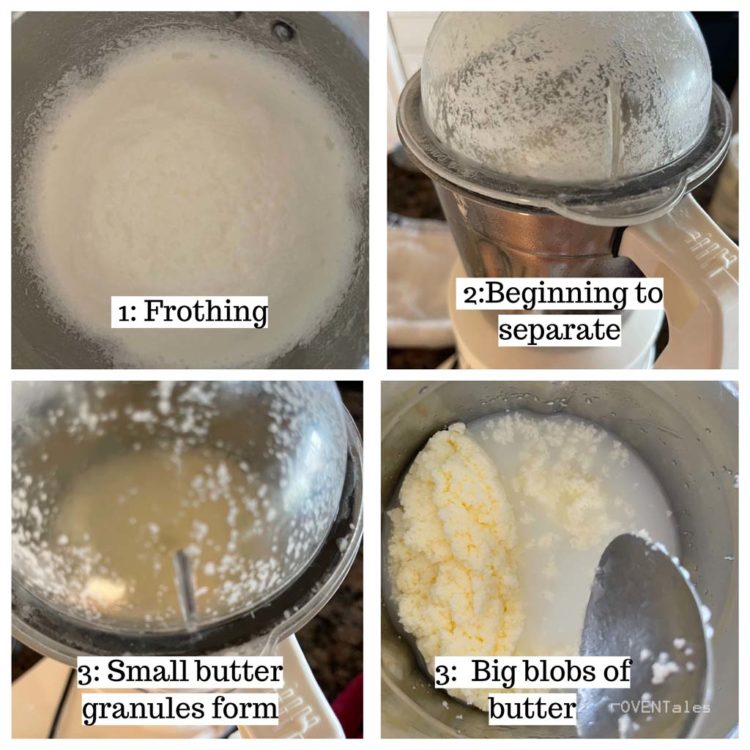
I fill the blender jar with enough cold water and ice to immerse the blades by about 1 inch. Add the thick cream on top. Close the lid and pulse a few times. If there is a thick layer of foam that does not seem to break about after 1 minute add more cold water and keep pulsing. In another 30 seconds to 1 minute, you should see the butter droplets forming. Few more pulses and butter droplets form together.
Rinsing and Storing
So now you have the solid butter. The next step is to wash the butter. This is to remove any excess buttermilk and air still trapped in the solid chunk of butter. Transfer the butter into another container and rinse it with room temperature water.
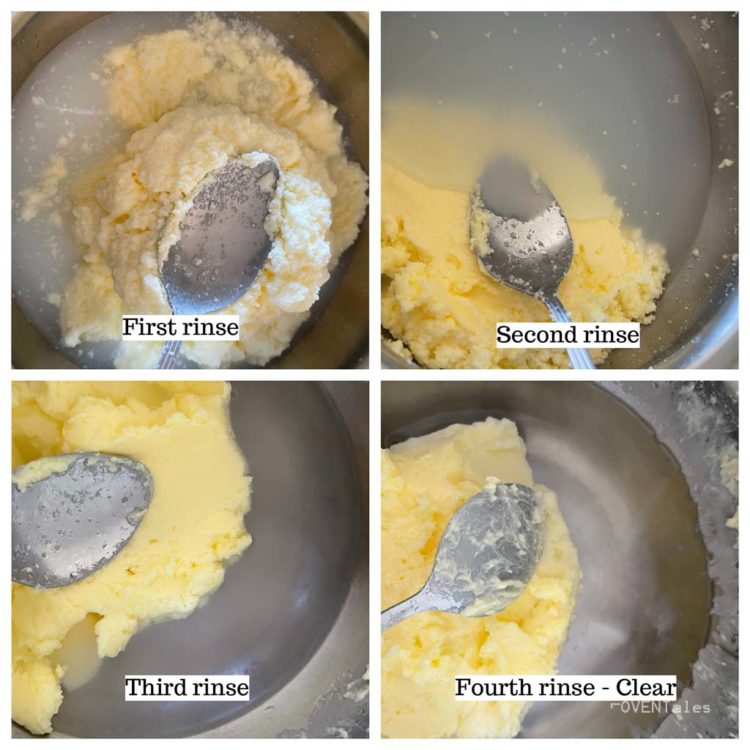

When I say room temperature water, it refers to the water that keeps the butter soft while not melting it. At this stage, you can use the back of the spoon to press it to release all the trapped air and buttermilk.
Drain out the water and repeat this process a few more times until the water runs clear. Drain the water and store.
Storage
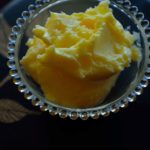
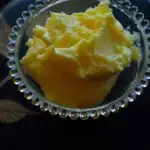
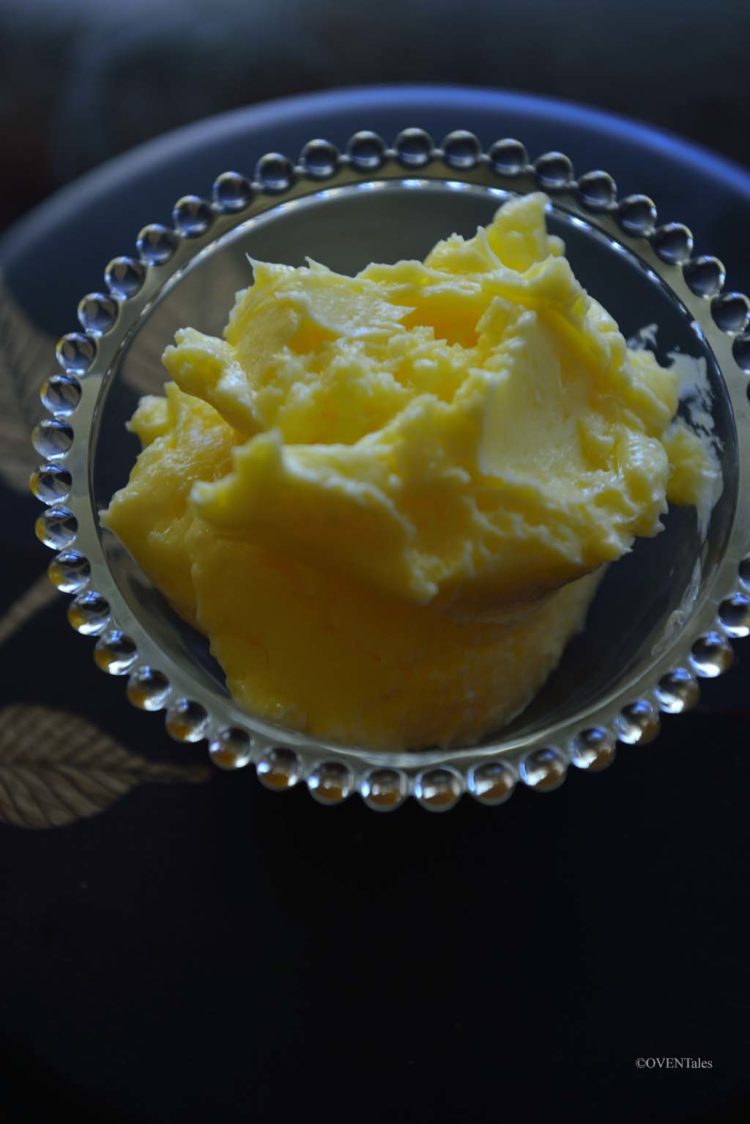
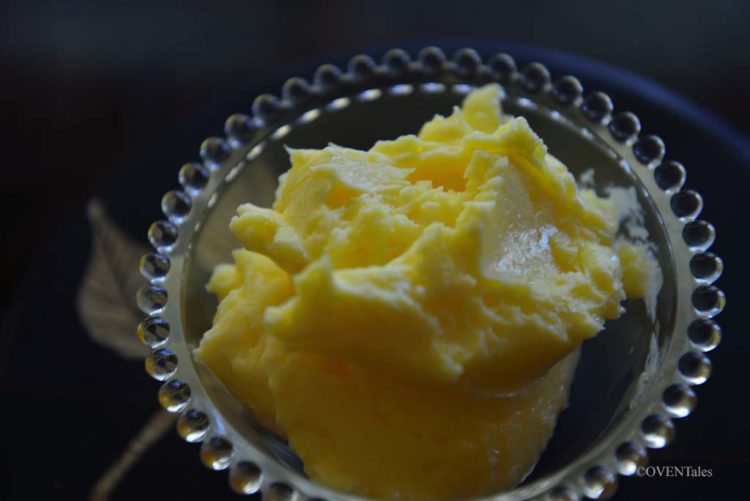
Once the butter is washed squeeze out the water and form it into any shape you like and store it in an airtight container. Butter tends to absorb odors, so always keep it covered.
Butter usually stays fresh at room temperature for 3 days as long as the cream used to make it was fresh. That said I would recommend refrigerating if you are not planning to use it the same day. It would stay fresh for up to a month in the fridge, but tastes best within the first week.
Troubleshooting and Tips
Always use a large container, preferably one that holds at least 4 times the volume of the cream.
When making butter keep the cream, water, and utensils cold.
What to do if the cream froths but does not separate
There are a few things to try
- Remove some of the mix from the container
- Chill the mix and the container
- Add more water and ice
What to do if the mix does not seem to change at all
This happens when you are working with homogenized milk. The particles in this milk are broken down to disperse evenly and not separate. Hence it will not separate under normal conditions.
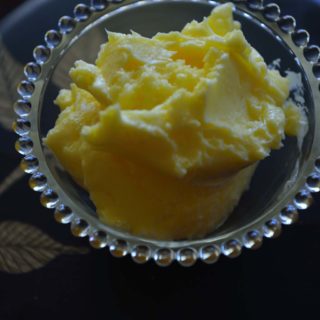
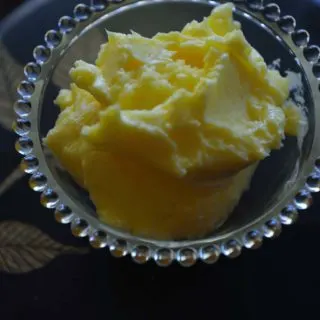
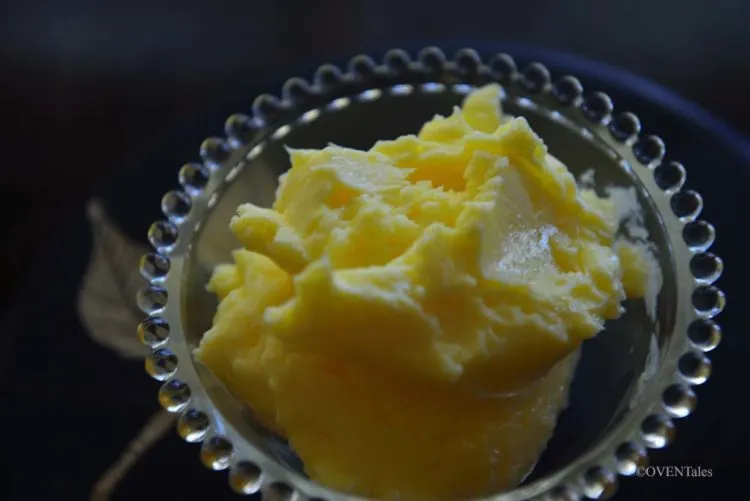
Homemade Butter
Ingredients
- 1 C Heavy Cream Notes
- Water as needed
Instructions
Bottle
- Pour the Chilled cream into a bottle filling less than half the bottle. Close with a tight-fitting lid.
- Shake the bottle vigorously. After about 5 minutes the cream seems to have increased in volume. Keep shaking and in about 20 minutes you will have a solid lump formed in the bottle. Shake a few more times until butter pieces coalesce into one.
Mixer
- Pour the cream into the mixing bowl. Fit the mixer with the whisk attachment and start whipping at low speed. After a few minutes increase the speed to medium. At this point, you can add some cold water to speed up the process. Continue whisking as the whipped cream changes color and the butter begins to separate. Stop when all the butter separates into clumps and the pale leaving white liquid at the bottom of the bowl.
Blender / Food Processor
- Add cold water to the mixer immerse the blades by about an inch. Add the cream, cover with the lid and start pulsing for 5-second intervals. In about a minute the solids will start separating. Keep pulsing a few more times until all the solids float up into a yellowish mass.
- Add ice chips to the blender if needed to keep the contents cool.
Rinse and Store
- Scoop the butter into another bowl and pour water over it. Press the butter with the back of a spoon to release any trapped air and buttermilk. Drain the water. Repeat this process a few more times until the water runs clear.
- Drain the water and form the butter into any shape you prefer. Place in an airtight container. Refrigerate if not using the same day.
Notes
- Use heavy whipping cream or cream collected on top of whole milk /yogurt. The latter will be thicker than heavy cream so add some cold water to thin it.
- Keep the bowl and cream cool for faster results.
- It is better to use room temperature water for rinsing butter.
Important: Nutrition Values are estimates. Actuals vary based on ingredients and serving size.