

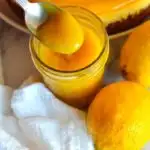
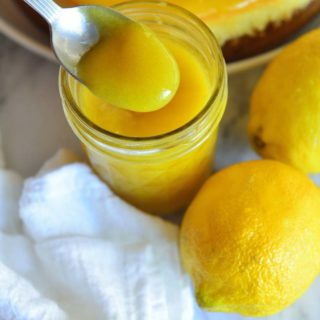
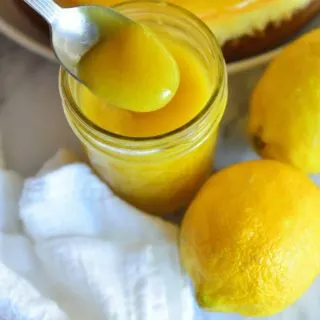
Lemon curd is tart, sweet, creamy, and luscious. It is delicious on its own and a great way to add the tart lemony flavors to a variety of dishes. It is easy to make with just a few everyday ingredients. Make it fresh and use them in tarts, cakes, pies, scones, and wherever else you want to add sweet and tangy flavors. Gluten Free
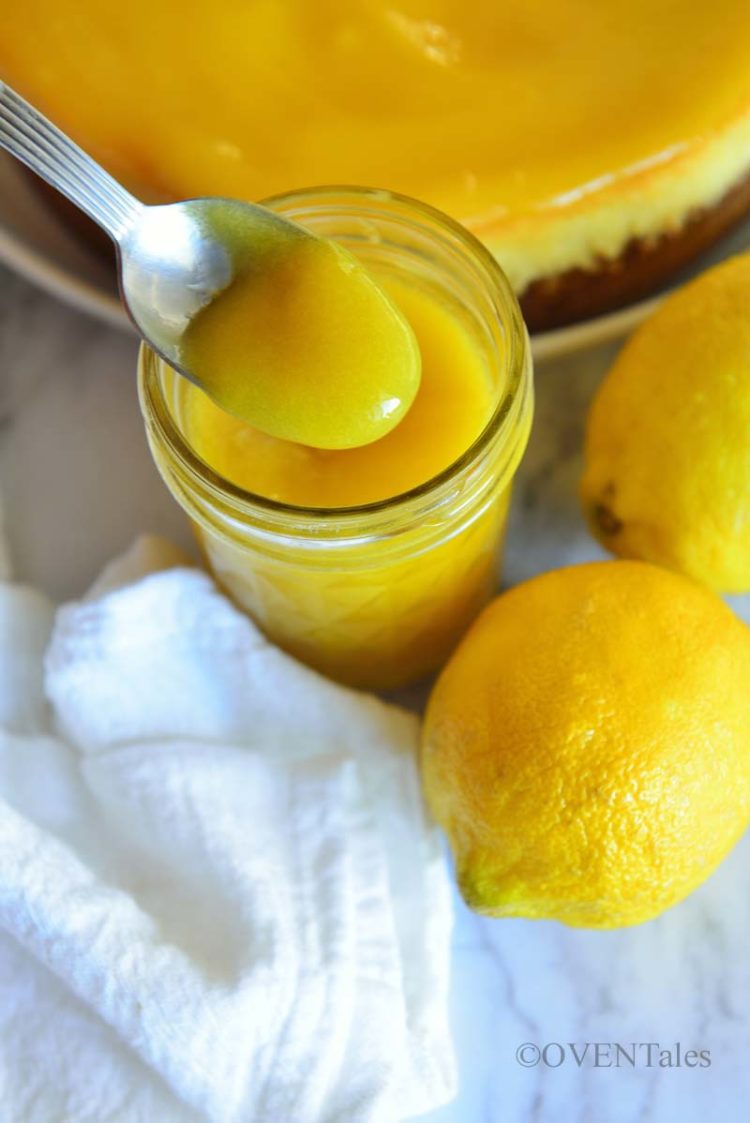

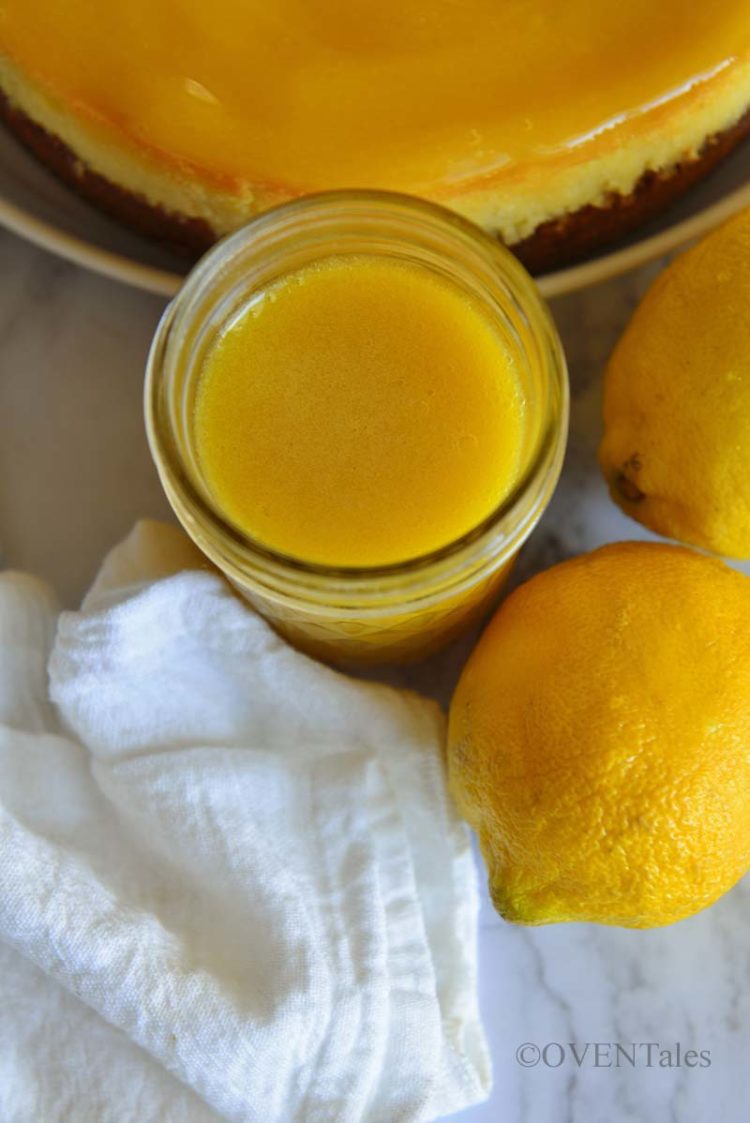
Look at that luscious lemon curd! This batch was made as cheesecake topping. The flavors are incredible when you make it fresh. and the flavors are so incredible.
What is Lemon Curd
Lemon curd is a spread or quick jam with sweet and tart flavors. It is spreadable, rich, and creamy. Use it as a topping for cakes, cookies, or ice cream. These are great as pastry fillings or sweet dipping sauces. In other words, lemon curd can be used wherever you like to have sweet and tart flavors.
Home Made Lemon Curd
Of course, you can buy a bottle of lemon curd from the store, but it is ridiculously easy to make it at home. Here are a few reasons
- Take only 5 ingredients and all are pantry staples
- Tastes better and fresh
- No preservatives
- Control flavors and textures – you get to decide how thick, sweet, or sour the curd is.
- No fancy equipment
Ingredients Needed
As I have mentioned above lemon curd is made with just a few pantry ingredients.
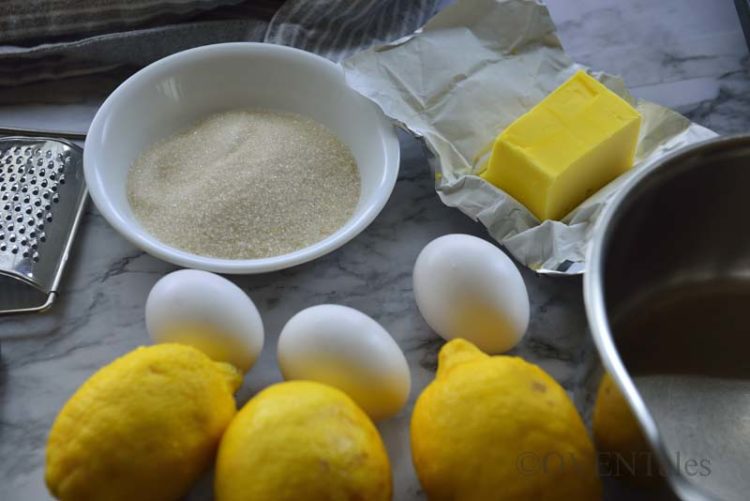

- Lemons: The star of the recipe – use both the juice and some zest
- Egg yolks: the binder and creates the thick sauce texture
- Sugar: The sweetener of choice without changing the color. If using substitutes like honey the color and texture will change.
- Salt: A pinch of salt makes a huge difference
- Butter: Is the secret for the luscious glossy curd.
The Process
The process of making lemon curd involves mixing in all the ingredients except the butter and slowly heating it until thickened. To this stir in the butter to create the luscious texture.
The process is simple, but given the ingredients here are a few things to be mindful of
- Keep the heat low. Many chefs will insist on using a double boiler. The homemade version of a bowl kept over a pot of boiling water (no direct contact to heat and no moisture getting into the bowl ) works well. This is to control the heat and is less error-prone, but it also takes longer to cook. So if your stove does not have a low heat setting or you are multitasking then definitely use a double boiler.
- Keep stirring – This helps the curd cook evenly and prevents it from sticking to the bottom of the pan and curdling.
- Use a heavy-duty, nonreactive pan and preferably a silicon spatula. Lemon is acidic and can easily absorb metallic flavors if the utensils are of lower quality.
- Add the butter after the curd has thickened. Turn off the heat and stir in the butter.
- Remember that the curd will thicken a little more as it cools.
- Strain the curd if you want to keep it extra smooth and remove any lumps or zest pieces.
- Place a piece of butter paper/parchment/ cling film (not my favorite) on top of the curd to prevent the skin from forming

Where To Use Lemon Curd
The lemon curd will thicken as it cools, so wait for it to cool completely before using it as pastry fillings or to decorate cookies and cakes.
- Cakes – try it on pound cakes
- Use in place of Jams and spreads – with bread, scones etc.
- Tart filling
- Danish
- Slightly thicker lemon curd is a great cake filling
- Use as ice cream topping (better if the curd is a little thin)
Lemon Curd
Equipment
- Whisk or spatula
- Heavy Bottomed pan
Ingredients
- 3 Egg Yolks
- ½ Cup Sugar
- 1 Tablespoon Lemon Zest zest 1 large lemon
- ¼ Cup Lemon Juice Fresh squeezed (1 -2 lemons)
- 1/8 Teaspoon Salt A pinch
- 4 Tablespoon Butter cold
Instructions
- Separate the yolks from the whites. Zest the lemon/s fine. Juice the lemons and measure ¼ cup of juice.
- In a heavy-duty saucepan mix in the egg yolks, sugar, lemon zest, and lemon juice. Whisk well until the mix looks paler in color and uniform.
- Transfer the pan to the stove, set on low heat. Keep the heat on low, and whisk/stir continuously. After a few minutes, the mix thickens and begins to bubble. Keep stirring over low heat to avoid burning and the mix from curdling or separating. The mix is ready when it coats the back of the spoon and has visibly thickened.
- Turn off the heat and add the cold, pieces of butter, and mix well. Once the butter is melted and incorporated into the curd strain the curd if needed.
- Transfer to a container. Place a piece of parchment or plastic wrap on the curd surface. This will prevent the skin from forming.
- Store in the fridge for up to 2 weeks or freeze for longer storage
Notes
- Use fresh lemon juice. The store-bought lemon juice will not taste as great.
- For the thick but easily spreadable consistency of curd stop cooking the curd till it coats the back of a spoon. Dip the back of a spoon in curd and run your finger over it. If the curd doesn’t spread to close the gap then it is ready.
- Don’t stop stirring while cooking!
Nutrition
Important: Nutrition Values are estimates. Actuals vary based on ingredients and serving size.