
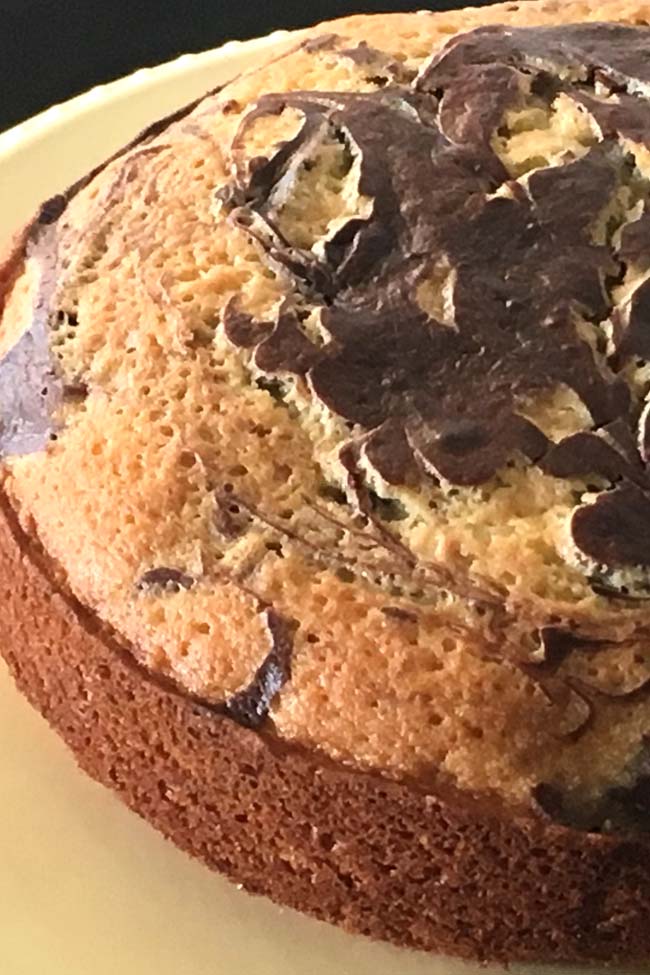
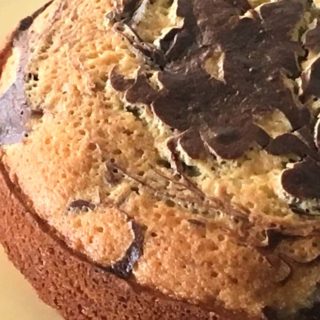
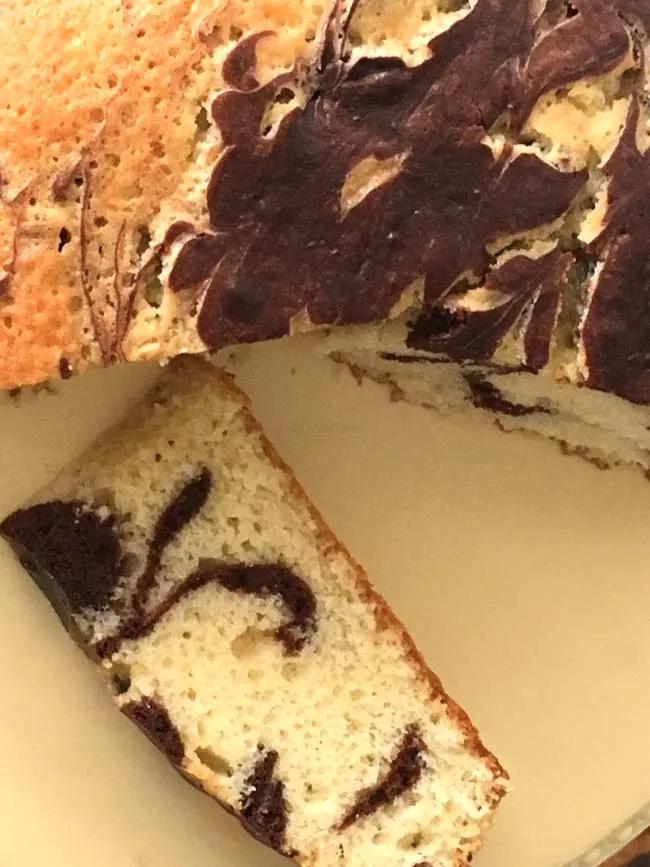
Swirls of bright or contrasting colors on white or yellow cake look dramatic. Chocolate marble Cake – simple to make, beautiful to gaze at and delicious by the mouthfuls. These is absolutely no need for any frosting, glaze or garnishes. This is a delicious cake that can be made from scratch easily – no need for any boxed mix . Just perfect for everyday celebrations, even when you are short on time. Needless to say when ever I bake this, it gets over in no time at all.

A marble cake is essentially a mix of two different colored batters, both with pretty much the same cooking time. One could very well take any yellow or white cake batter and add some color or chocolate to it and create wonderful marbling effect. But I like mine from scratch. Here are a few reasons why we love this from scratch recipe –
- It is moist
- Easy too make
- Visually very appealing
- Just right amount of chocolate to appeal to both chocoholics and others
- No fancy gadgets or special equipment
- Can be easily made into dairy free version
I do make this cake dairy free often times, by simply substituting water for the milk. Often times I am asked for egg free version of my cakes. If egg is not the main component, say 1 or 2 eggs in an 8 or 9″ round cake , you can get away with simple substitutions like yogurt or apple sauce or pureed bananas. I would not suggest doing the same in this recipe. One may be able to get away with a good quality egg replacer, but replacing all the eggs in this recipe will make a cake that is very different in taste and texture, mind you it could still be delicious. Now if you try I would like to hear from you !!!
When I said that this is an easy cake , I was not kidding . Very little prep work involved. So here is the recipe for easy chocolate marble cake from scratch ! As always start with room temperature ingredients to get the best results. If using refrigerated egg, immerse it in warm – not hot – water for for 5 to 10 minutes before using.
Pre heat the oven to 350°F (175°C). Butter/oil and flour the cake pan. Line the bottom of the pan with a parchment paper. Here I have used a 9″ circular pan that is 3″ deep. You could use a 9″ loaf pan or a a square pan or a bundt cake pan. Sift the flour along with salt and baking powder and set aside. You could use either cake flour or all purpose flour. My preference is organic unbleached all purpose flour. You could even substitute half of the flour with fine ground whole wheat flour. The cake turns a little nuttier and denser. If substituting whole wheat flour increase the oil by 2 Tbs.
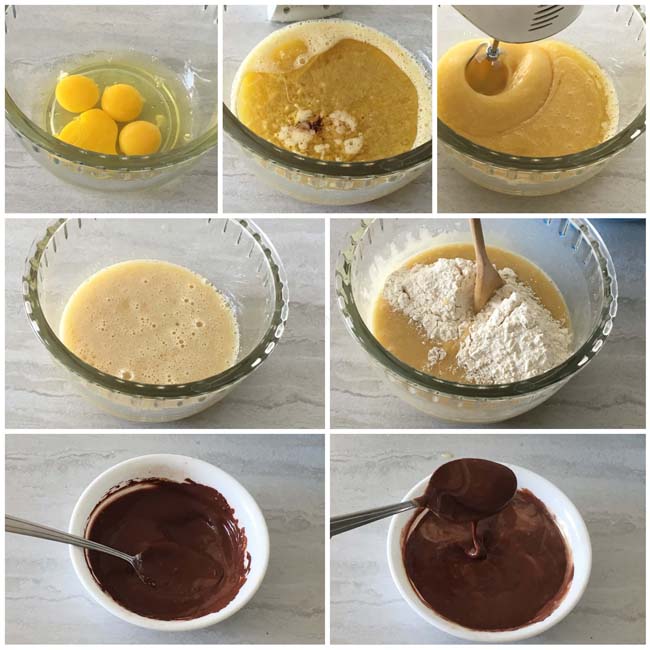

Break the eggs into the bowl, add sugar and oil blend well till it is pale, add the vanilla. Mix well and the wet ingredients are all ready. You could even do it in the food processor or blender, just add the eggs, sugar, oil and vanilla into the jar and process for about a minute.
Fold in the flour in halves adding water/milk in between. This again can be done in the food processor , if your jar is large enough. Make sure the lid is on tightly. Add the water/milk to the jar first followed by all of the flour. Close the lid and pulse a few times until no dry flour is visible. Do not process any further.
Mix the cocoa and water in a mixing bowl. Add a few spoonfuls of the batter to the cocoa mix and stir well. Here I have added about 1 C batter. Add as much or as little batter as you desire. For a zebra stripe look , you might want to have both colors in equal quantities.
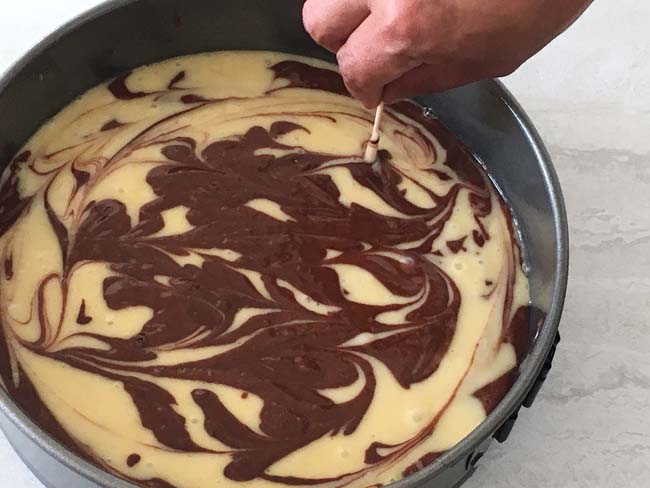

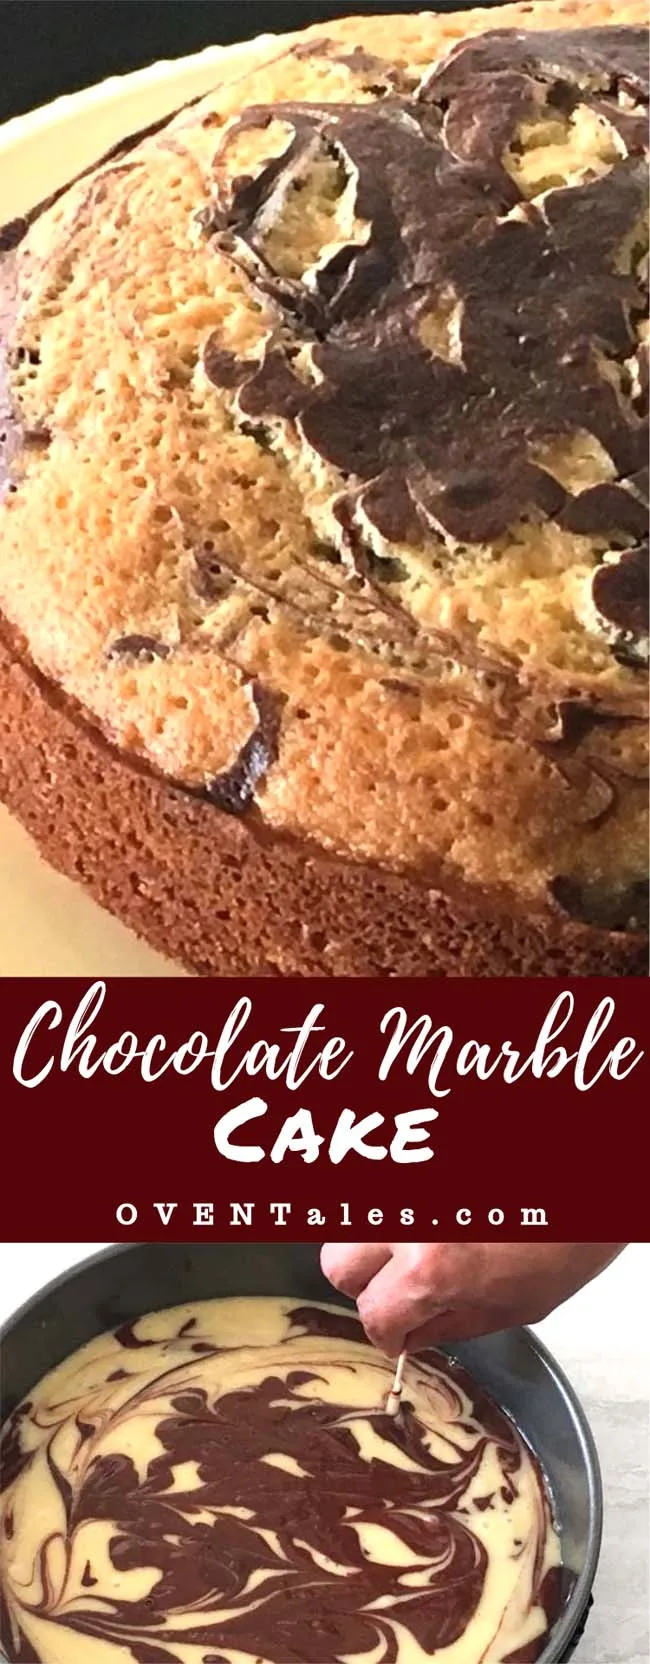
Scoop the batter into the prepared cake tin, alternating the colors. Here I have added the vanilla batter in 2 layres. After pouring the first layer of the vanilla batter, dollops of chocolate is added. This process is repeated once more to use up all the batter. I have used a toothpick to get the swirl effect and to create the marble vein look. Play with the marbling effect to get different patterns. This is something my kids have fun doing as well. You can be very structured or absolutely crazy with the marbling effects ! There are no rules here – it is home baking after all :-). As long as you don’t mix the chocolate and plain batters thoroughly you get a wonderful marbled look , and a cake that is both pleasing to the eyes as to the palette.

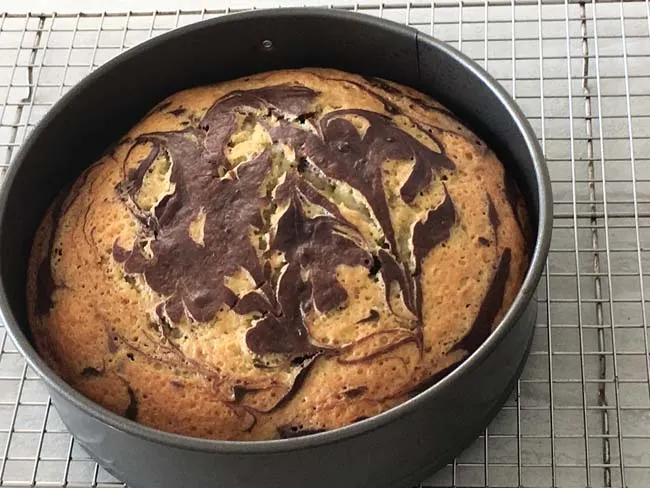
Bake for 20 minutes. For the darker metal pans the sides might start to brown already. If that is the case lower the temperature to 325° F (160° C). Bake for another 10 to 20 minutes until a tooth pick inserted in the center comes out dry. If using larger pans, adjust the cooking times.
When the top looks set and begins to brown insert a toothpick/skewer into the center of the cake. If it pulls out clean , the cake is done and can be removed from the oven. Let it rest in the pan for 5 minutes . Remove from the pan and cool on a wire rack before slicing.

Chocolate Marble Cake
Ingredients
- 2 C AP Flour (240g)
- 3/4 C Oil Unflavored
- 4 Eggs Large
- 1 C Sugar (250g)
- 1/4 C Milk/Water
- 2 Tbsp Unsweetened Cocoa
- 21/2 Tsp Baking Powder
- 1/4 TSp Salt
- 1 Tsp Vanilla Extract
- 2 Tbsp Water
Instructions
- Pre heat the oven to 350°F (175°C).
- Lightly brush the insides of the cake pan with melted butter/oil and coat with flour. Line the bottom of the pan with parchment paper.
- Sift the flour, salt and baking powder together. Take the cocoa in a small mixing bowl, add 2 Tbsp water, mix to form a paste and set aside.
- Mix oil, sugar, and eggs in a mixing bowl . Beat well till the mixture turns pale. Add the vanilla extract and mix well. Fold in half the flour mix. Stir in the milk/water. Gently fold in the remaining flour mix . The batter will be loose. Scoop a few spoonfuls of the batter (up to half) into the cocoa mix and stir till the mix reaches uniform color.
- Transfer the batter to the cake pan, alternating the brown and white batters till all the batter is used up. Make swirl patterns using a toothpick to get the marble look .
- Bake in the pre heated oven for 20 minutes. If the sides seem to brown reduce the temperature to 325°F(160°C) . Bake for additional 15 to 20 minutes for 8" or 9" round cakes. To check to see if the cake is done insert a cake tester/tooth pick/ skewer into the center of the cake. The cake is done when the test comes out clean.
- Remove from the oven and let cool in the pan for 5 minutes. Transfer to the wire rack and cool before slicing.
Video
Notes
Important: Nutrition Values are estimates. Actuals vary based on ingredients and serving size.


mary
Friday 1st of March 2019
IS it Baking Powder or Baking Soda? You have them both listed in different places!
Syama
Sunday 3rd of March 2019
Hi Mary , You are right ! Thank you for pointing it out. It is baking powder. For 2 C of flour 2 1/2 tsp of baking soda will be way too much. I updated all references to soda.