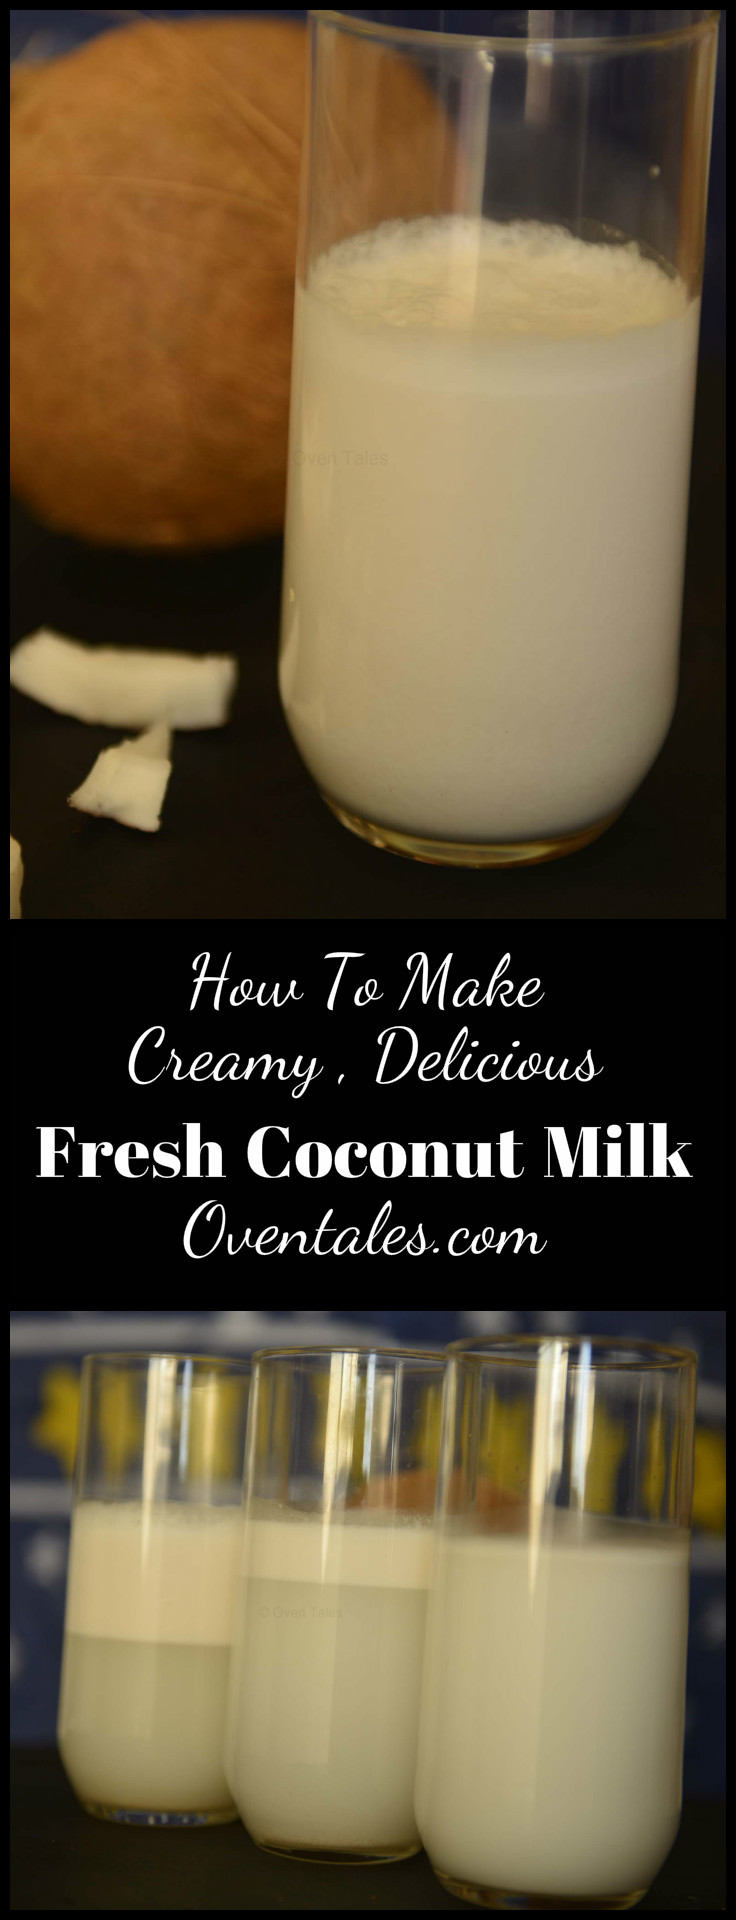
Let me be honest, I am not above using canned coconut milk. With every passing year the canned milk seems to get better with less and less additives and more creamy coconut taste. But nothing compares to the taste of freshly extracted coconut milk. Food tastes heavenly when slow cooked in thin coconut milk and finished with the thick, creamy coconut milk. That is how it is done in traditional Kerala dishes like Ada Pradhaman or Pariipu Payasam or Fish Curry with Coconut Milk.

 Making fresh coconut milk was an everyday task when I was a child. Dad used to de-husk the coconuts while us kids made a bee line for the coconut water. Often times we used to disappear as soon as the last drop of coconut water went passed through our lips. With good reason too – grating the coconuts and extracting the milk were part of the kitchen duties that often fell on us.
Making fresh coconut milk is simpler than you think , especially with today’s kitchen gadgets. Fresh grated coconut is the best, but if that is not available frozen coconut is a very good substitute. I would not recommend dried coconut – but if you must, soak the dried coconut in warm water for half an hour before trying to extract the milk.
The traditional way is to grate the coconut, add about 1/2 to 1 C water per each grated coconut and squeeze it with hands to coax the milk out. This mixture will be placed in a piece of cotton cloth and squeezed to extract the milk . The process will be repeated with the remaining coconut bits in the cloth to get the 2nd 3rd and possibly a 4th extraction, each with progressively less and less cream content.
This is essentially the process I follow as well , except that I use the blender and a fine mesh strainer.
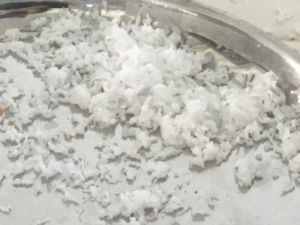
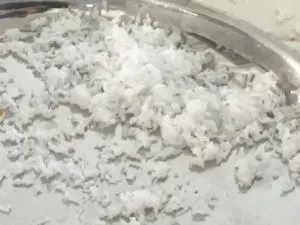
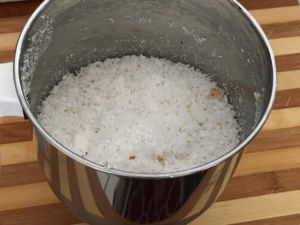

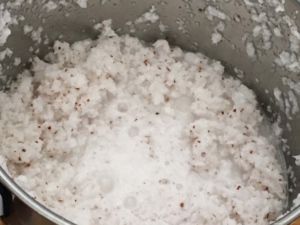
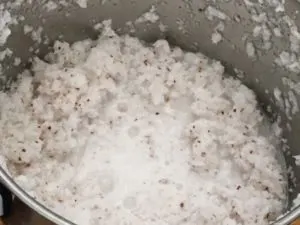
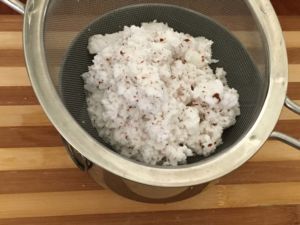

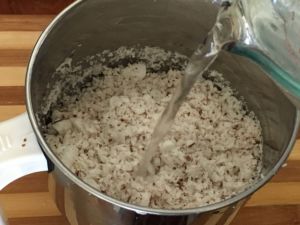
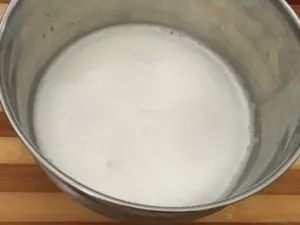
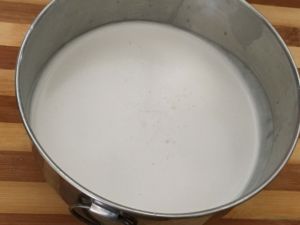
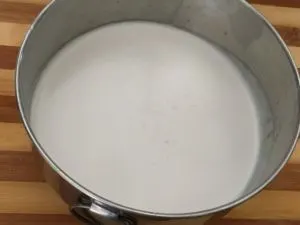
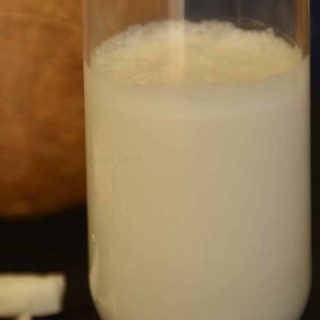
Start with grated coconut or chopped coconut. If using chopped pieces, process in the blender , without adding water, till the mix looks like coarse bread crumbs. Add 1/4 to 1/2 C warm water – just warm to touch – to the coconut and set aside for 2 to 3 minutes . If working with frozen coconut, let it come t o room temperature before adding water. Pulse the coconut and warm water mix a few times. Open the blender, and you should be able to see the milky liquid settled on top – as in picture 3. Let it rest for a minute and transfer the mix to a strainer set over a bowl and press down with spatula to extract the milk.


The coconut bits remaining in the strainer is transferred back to the blender and the process is repeated. Every successive extraction of the milk produces thinner versions. Usually by the 3rd time almost all the cream would have been removed from the coconut.
I know , it is a little more involved than opening the can 🙂 but the freshness and the taste make a world of difference. Refrigerate the milk, if not planning to use right away and use it in a day or two. For longer storage , let the milk rest for a 30 minutes. Scoop up the cream that settles on top (see the pictures below) it up and freeze to use later.
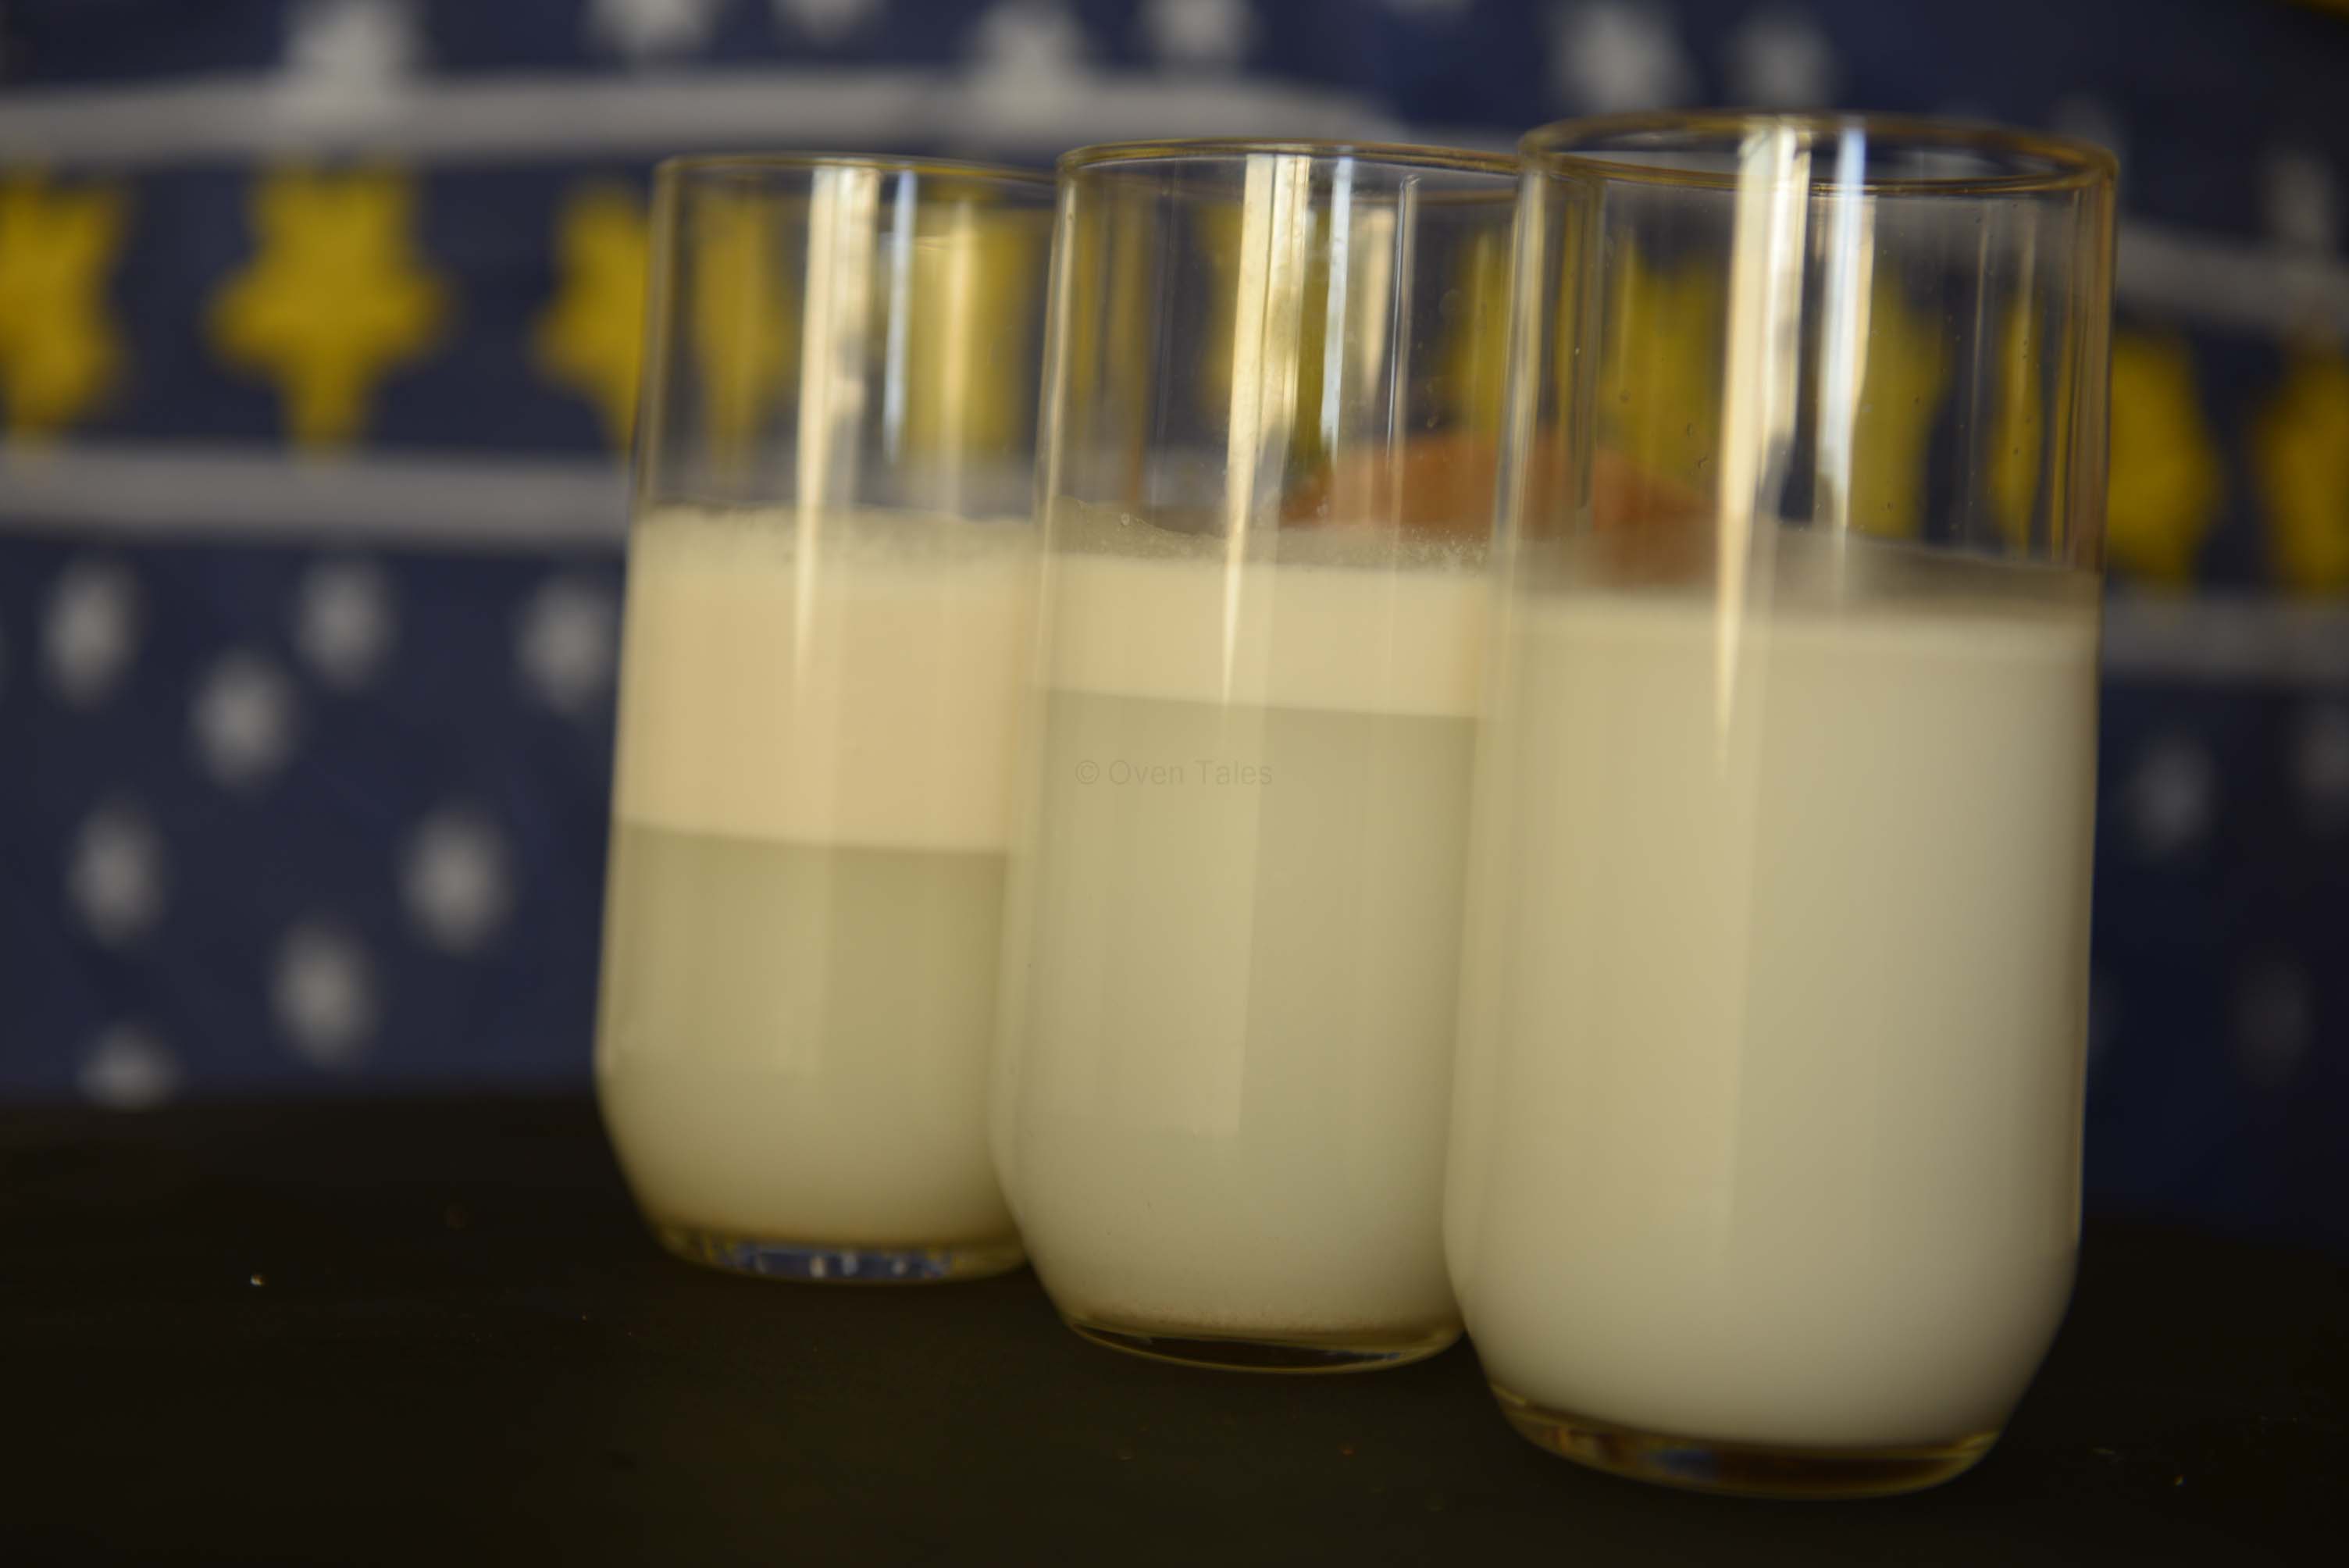
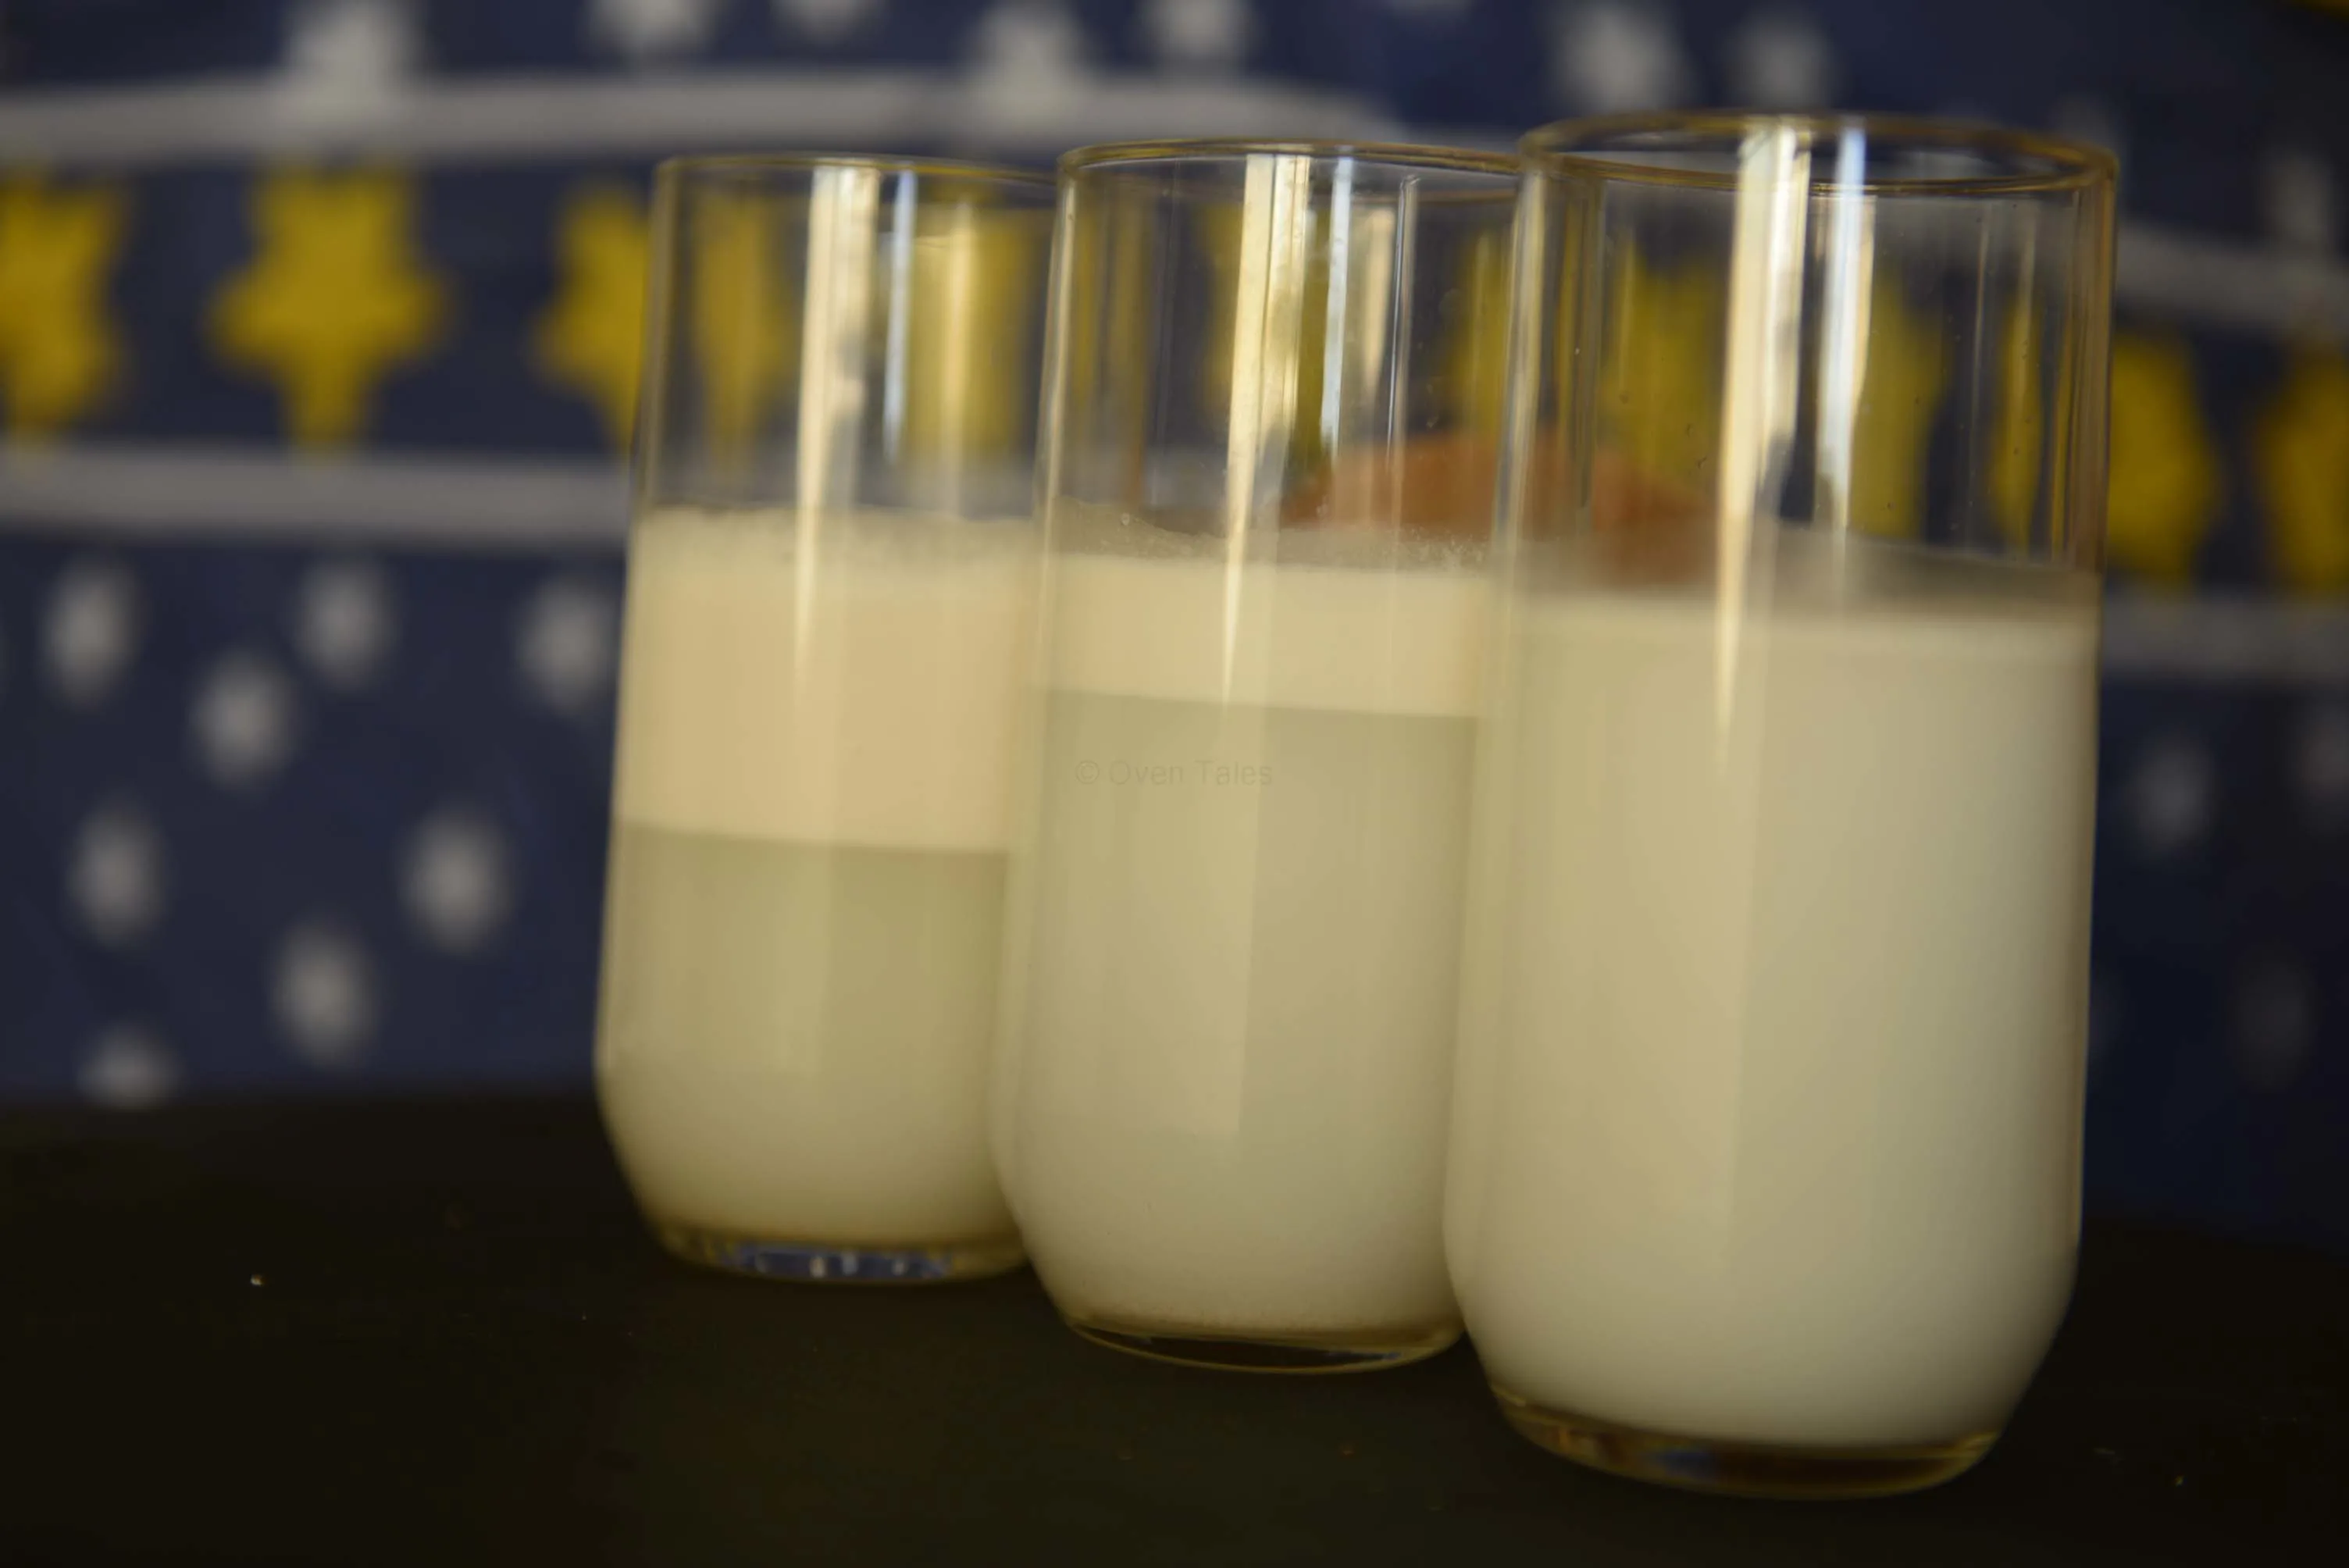
The picture shows how the cream has settled after 30 minutes. The first to third extractions are left to right, in that order. Notice how there is hardly any cream settling on the top of the 3rd milk .
Notes:
- Warm water gives better results.
- Do not grind the coconut to a paste, a few pulses in the blender is all you need.
- When cooking with fresh coconut milk, keep the 1st extraction or the thick milk separate. Do not boil this as it will separate. All the other versions can be boiled.
- If using as a substitute for milk in drinks, let the grated coconut sit in the warm water for 5 minutes before and after blending. Use only the 1st and second extractions.

Fresh Coconut Milk
Ingredients
- 2 C Grated Coconut - Packed, See Notes
- 3 - 4 C Water
Instructions
- Heat the water till it is slightly warm to touch.
- Place the grated coconut in a blender jar and add 1/2 C water to it. Let it rest for a few minutes. Pulse a few times, and rest for a minute. Transfer the contents to a strainer set atop a bowl. Let the milk drain to the bowl. Press firmly with a spoon to speed up the process.
- Return the contents of the strainer back to the blender. Add 1 C water and let it rest for a minute. Pulse the blender for a few times and repeat as in the above step to extract milk.
- Repeat this process one or two more times until the extraction resembles water more than milk.
Notes
- If using frozen coconut - bring it to room temperature first.
- If using dried/ desiccated coconut, soak it in warm water for 30 minutes before processing.
- Use a fine mesh strainer or layers of cheese cloth or cotton towels.
Important: Nutrition Values are estimates. Actuals vary based on ingredients and serving size.