Here are the helpful tips to help you take care of your sourdough starter. Tips to maintain the starter and revive if things seem to go south.

Now that you have the basic sourdough starter down it is time to know more about keeping it healthy. To be at its peak performance the starter has to be refreshed regularly. This helps a vibrant colony of bacteria and yeast thrive which helps the harmful microbes at bay.
When life gets in the way baking and maintaining the starter becomes less of a priority. If you ever find yourself in this situation I hope these tips will save the day.
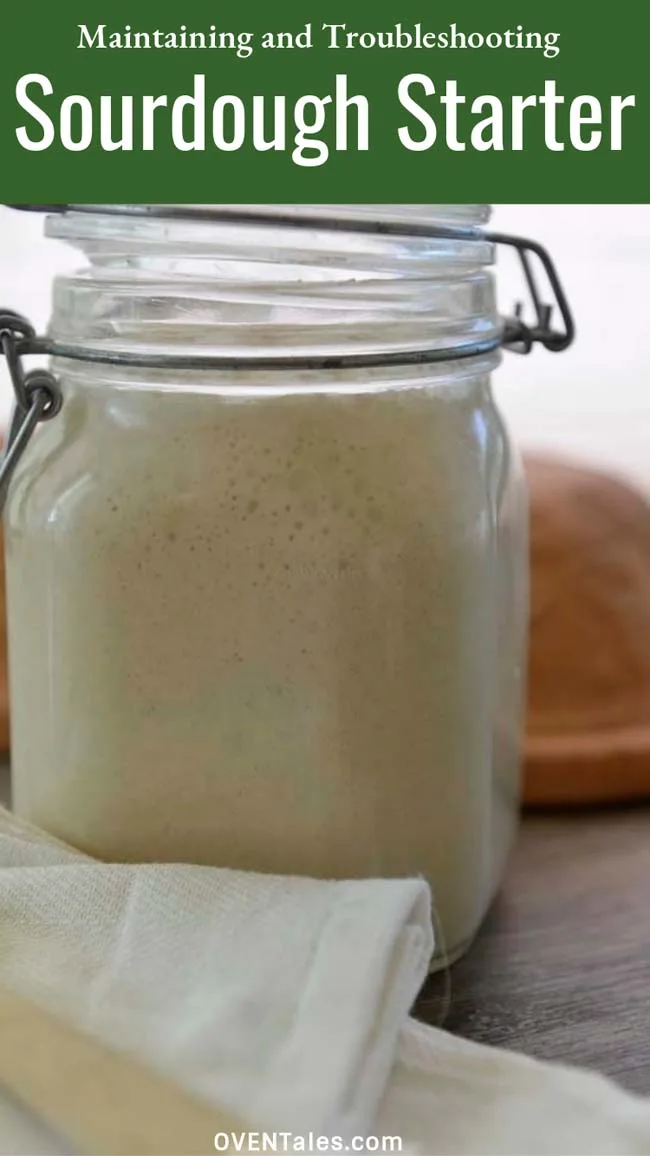
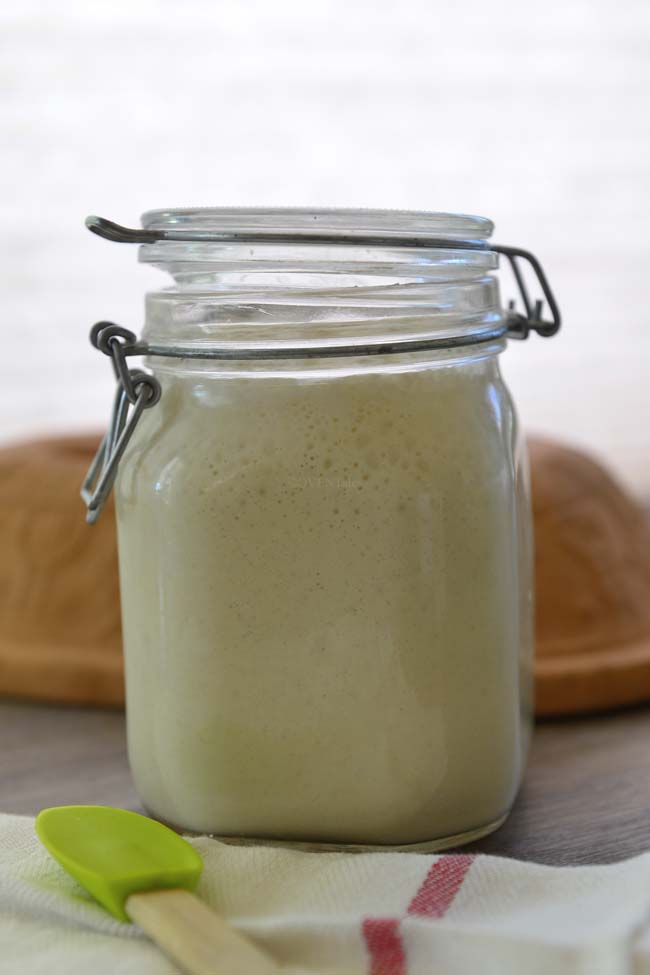
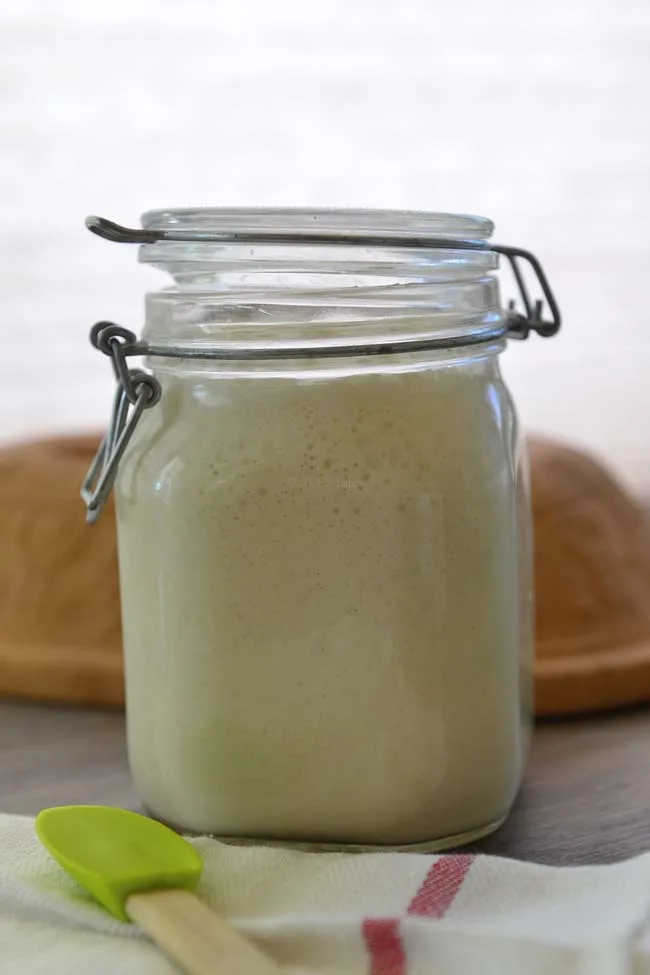
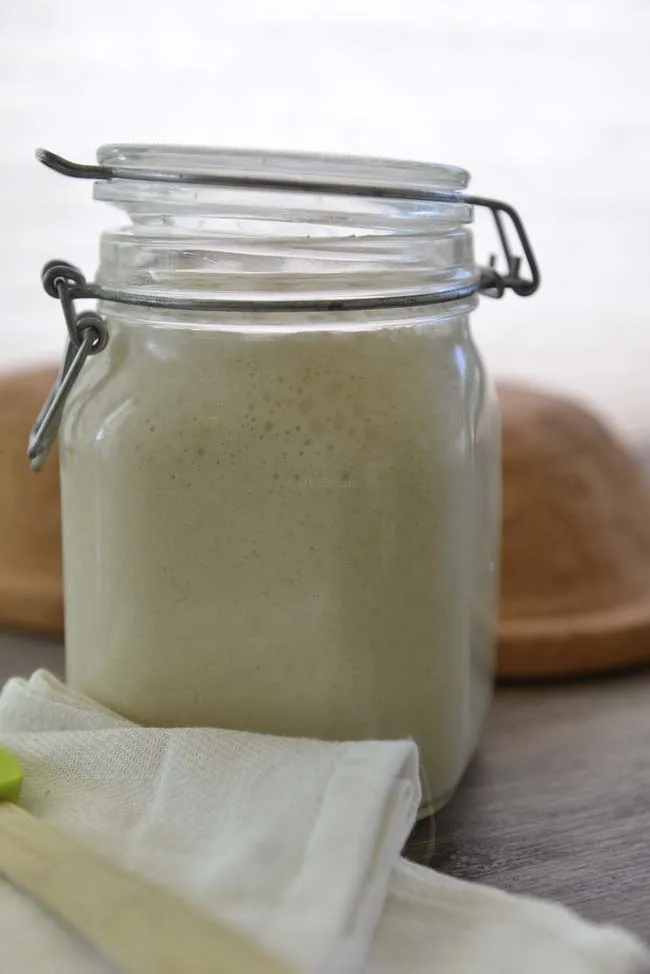
For reference, I am using the basic 100% hydration starter.
Basic starter making questions
Do I have to measure the flour and water by weight?
The basic starter recipe calls for equal amounts of water, and flour by weight (50g). The reason is 50g of something weights 50g all over the world, where as 1 C of water could mean 236.5 ml (US), 250 ml(Metric), 227.3 ml (CA), or 284.1(imp). Similarly 1 C flour could vary from 100g to 140g. This is the reason bakers usually sift and scoop the flour into measuring cups and level it off. Even after this there will be few g variance between each cup measurements.
While I recommend weighing ingredients, it is not a must. An easy equivalent is 1/4 C of all purpose flour ( 30 g) and 2 tablespoons of water (30 g). Use any multiples of these to get the same results.
E.g. You could use ½ C flour (sifted and leveled) and ¼ C water.

What is magical about the 1:1 ratio
This is the basic beginner starter or the liquid starter. It is a 100% hydration starter made with equal amounts of flour and liquid by weight. This is a convenient ratio followed by many bakers. There is nothing magical about it. Most bakers following this ratio use it as an easy way to calculate the amount of water and flour in the starter. So when the recipe calls for 200g starter then you know that you have added 100g water and 100g flour.
There is another reason I prefer this ratio. The mix made in this ratio is neither too thick nor too thin and is easily mixed by a stir stick or spoon. It is easy to mix into the dough. Some starters made with flours like rye use more water while some others use much less. The key is to know what ratio of flour and water in your starter and to maintain that ratio.
Maintaining the Starter
Too much starter
You can maintain the starter in any amounts. For more predictable results it is better to refresh starter at 1:1:1 ratio – in other words, equal amounts of starter, flour, and water. Following this advice will exponentially increase the amount of starter if a part of it not removed before every feeding. This portion removed is what is known in the wild yeast world as ‘discard’.
Many bakers find the idea of throwing away half of the starter on every feeding to be wasteful. There are many recipes to use up the discard. One way to prevent this is by refrigerating t and maintaining a very small batch of starter, say 10 or 20g, that can be multiplied into the desired amount and a little more over multiple feedings.
What is important is to maintain a consistent ratio of flour and water.
My starter is not getting bubbly anymore
Here is a simple version of what happens in a sourdough starter. The yeast consumes certain sugars and starches in the mix releasing CO2 ( aka bubbles in the starter) and ethanol. The bacteria prefer to feed on other types of sugars creating lactic and acetic acids (aka ‘sour’ part of sourdough). Each can tolerate the byproduct of the other to a great extend, and together they create an environment that is toxic to other bacteria and fungi.
All this work well until there is no more food for consumption. At this point, the alcohol and acids in the starter become more than the yeast and the bacteria can handle. You get a flour paste and a liquid that is highly acidic and smells like alcohol. This may be desirable in other situations, but without fermentation power, it is useless in the bread baking world.

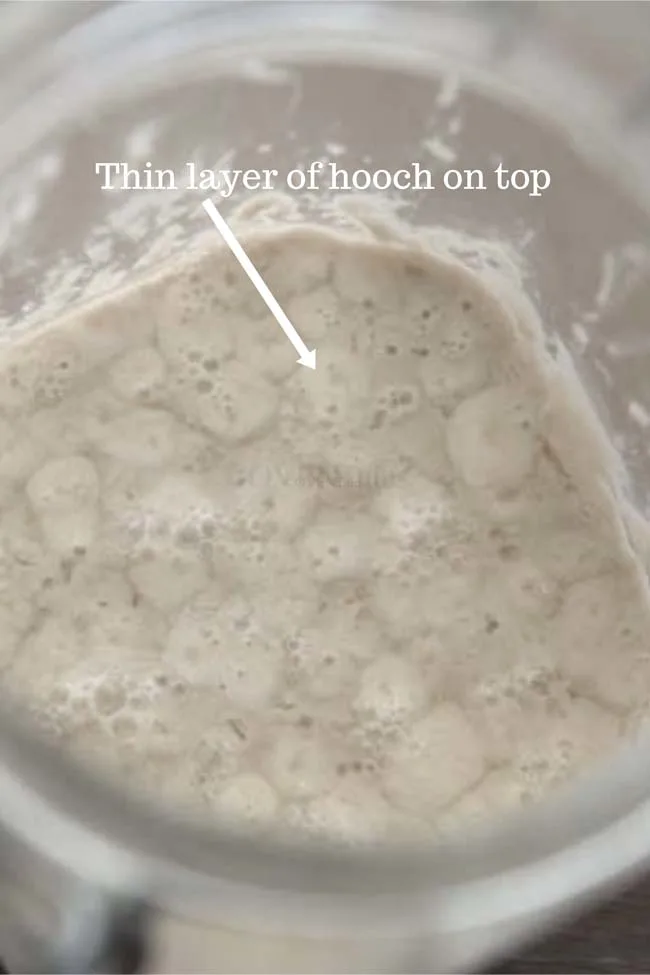
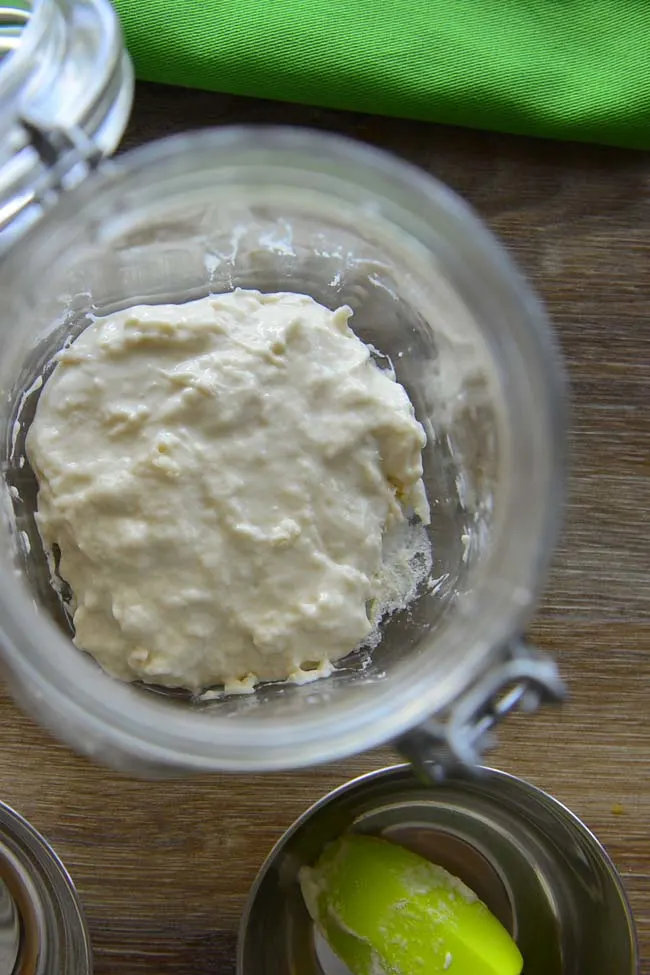
When you are reaching this stage you will notice a layer of liquid of top of the starter. This is called hooch.
If there is no hooch and the starter has just lost a lot of the bubbles it can be easily brought back to active state just by refreshing. Take about ¼ C of the starter feed the starter as usual and wait for another 30 minutes to 1 hour. In most cases, it will show some signs of activity after the first feeding. After 4 to 8 hours feed the starter again by doubling it. You might have to repeat this process one more time before the starter begins to double in bulk within a few hours.
If there is only a thin layer of hooch you can just stir it back in and use a portion of the starter to create a new batch. No need to trash the rest – just add it to pancake batter or flatbread dough.

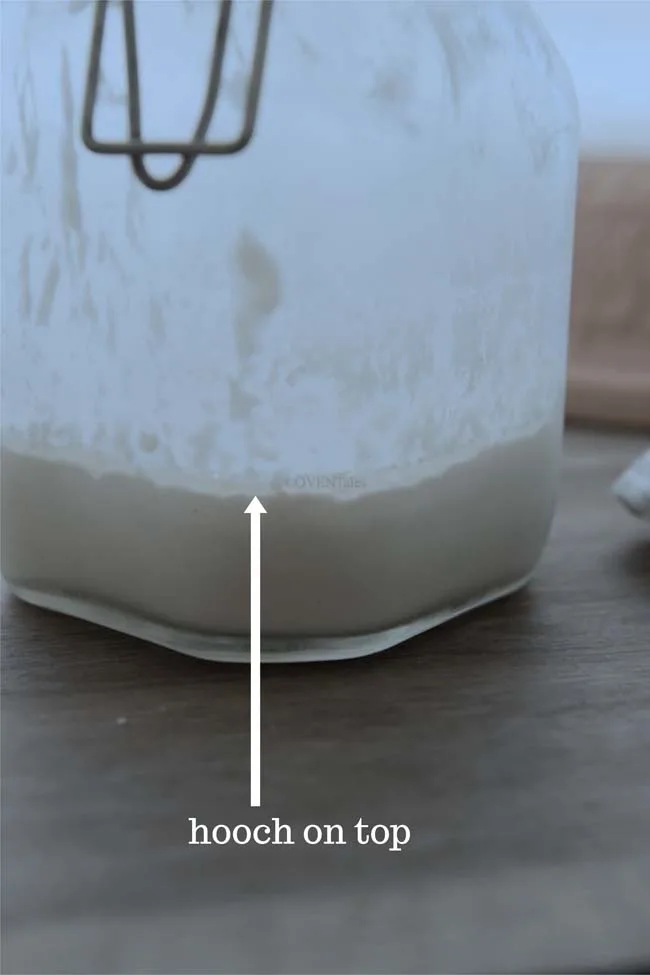
When your starter looks like the above picture – there is no visible activity. Notice the lack of bubbles here. You could drain out the hooch and most of the flour paste ( again makes a great addition to pancakes). Use a little of the paste from the bottom to create a new starter.
Mold in the starter
It is very rare to find mold in the starter. When that happens it is a result of contamination. Theoretically speaking, if there is very little mold you could carefully scoop it out along with a large portion of the starter and use a little from the bottom to create a new batch. But my recommendation will be to throw it away and start a new batch. The contaminant in the starter might not be present only on the top layer, which will mean that any subsequent starters you make with it will have a higher chance of developing mold as well.
How to store and revive starter when taking a long break
When being regularly fed and refreshed the starter can be kept covered at room temperature. This will require feeding windows of 4 to 12 hours depending on your ambient temperature. A convenient schedule is to keep it in the refrigerator and feed once weekly few hours before a planned bake.
I have left my starter in the fridge for up to 3 weeks without killing it. It turns more acidic, but chances are you will be able to revive it by starting the regular feeding regimen.
Sometimes you can get away with freezing the starter. It can be revived and refreshed later. But the results vary, as it depends on the microbial composition of the starter when it was frozen.
If planning longer breaks, one reliable method is to dry and store the starter. More on this another time.